Add Time
Time is always entered by first selecting a date range. The date range corresponds to the work period set up on engagement/s. If all of a worker's engagements have the same work period, time entry can be done within the same interface by selecting the day and the engagement from the Engagement drop down. The timecard displayed depends on the timecard set for the engagement.

If you are
adding time for a period that has identical values to a previously submitted
timecard, you can click ![]() at the bottom of the timecard page. This applies the
configured timecard to the empty timecard. You can also click
at the bottom of the timecard page. This applies the
configured timecard to the empty timecard. You can also click ![]() on as timecard at the day level to copy timecard values
from the previous day (above it on the page). See Copy From Previous Function.
on as timecard at the day level to copy timecard values
from the previous day (above it on the page). See Copy From Previous Function.
This process describes entering time in the Worker view. You can add time and expenses for a worker on the Billing tab of an engagement or in in the MSP view. See Add a New Billing Item.
- Navigate to the Home page in the Worker view.
- Scroll to the Add Time & Expense section of the Home page, or click Time & Expense.
- In the Type section, click Time.
-
From the Date Range drop down, select an applicable date
range. Date ranges depend on the work period configured for the
engagement.
Note:If you did not work any hours for a date range, select that range and toggle the Enter Service Period Not Worked switch to on. This indicates that the timecard will be submitted, but will not include any billable hours.Note:If you have multiple engagements, first select the engagement from the Engagement drop down.
-
Click
 .
.
-
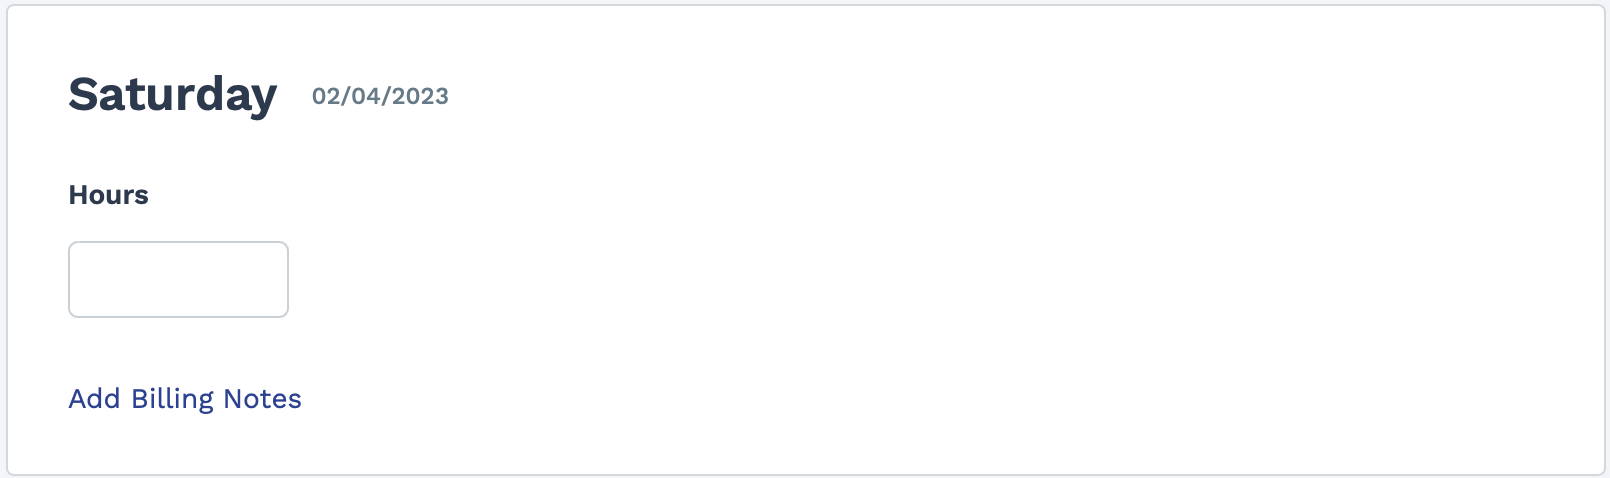
For each day worked, enter the time on the card.
-
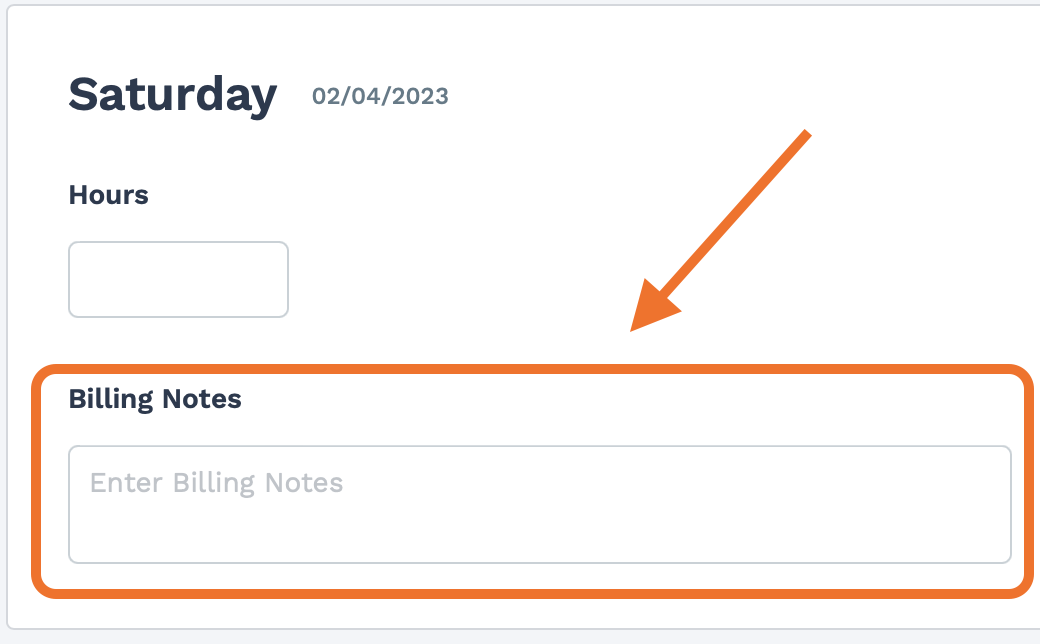
If you need to add notes to the time entered (for any business reason), click
Add Billing Notes. This displays a free text section
for your notes.
-
After entering time for the days in the date range, click
 .
After submitting a timecard, the details for the pending time display. You can modify this information by clicking
.
After submitting a timecard, the details for the pending time display. You can modify this information by clicking .
.