Add a New Billing Item
You can add billing items for a worker or supplier if you have the 'Billing' or 'Payroll' permission. Using the search functions, locate the engagement to add the billing items to.
This process is identical from the Billing page, or from the engagement itself (Billing tab) beginning where you select the billing type. The options available only display what is configured for the client and the engagement.
Only suppliers with the 'Payroll Processing' permission can add billing to an engagement. See Supplier User Permissions.
- Navigate to the Billing page in the MSP view.
- Click the Billing tab.
- Click the New Billing Item button.
-
In the Add New Billing : Search, locate the engagement
to add a billing using the following actions:
- Resource Type drop down - Search by selecting the
resource type (worker or supplier/vendor). If you use this field, enter
the name of the worker or supplier, or click
 to display all search results. From the
search results list, select the resource. Then, from the
Requisition Selection list, in the row for
the engagement to add the billing to, click
Select.
to display all search results. From the
search results list, select the resource. Then, from the
Requisition Selection list, in the row for
the engagement to add the billing to, click
Select. - Req# - Enter the engagement number. The billing type parameters input section opens.
- Resource Type drop down - Search by selecting the
resource type (worker or supplier/vendor). If you use this field, enter
the name of the worker or supplier, or click
- From the Billing Type drop down, select the billing type to add.
-
From the Data Range drop down, select the date range for
the billing item.
The range options depend on the dates and the work period selected at the engagement level. For more information about the work period definition, see Work Periods and Calendars.Note:The application only displays work periods up to the current date.
-
Optional: In the Date Other field, you can enter a
specific date for the billing item.
Note:This date must fall between the engagement start and end date.
-
If the billing item is being added for a day in a work period that was not
completed, select the Entire Service Period Not
Worked.
Depending on the client organization's work period configuration, rules might apply for complete work periods.Note:This check box only applies to engagements using the Hourly 1, 4, 5, 9, and Multi Rate 2 time cards. For more information about time cards, see Time Card Types.
-
Click
 .
.
-
Depending on the type of billing you are adding, enter the following
information:
- If you are entering Time, using the time card
details, enter details for the billing item.Note:You can review previously submitted time from the date range you are submitting in.
- If you are entering an adjustment, in the Submission
List, populate/select the following:
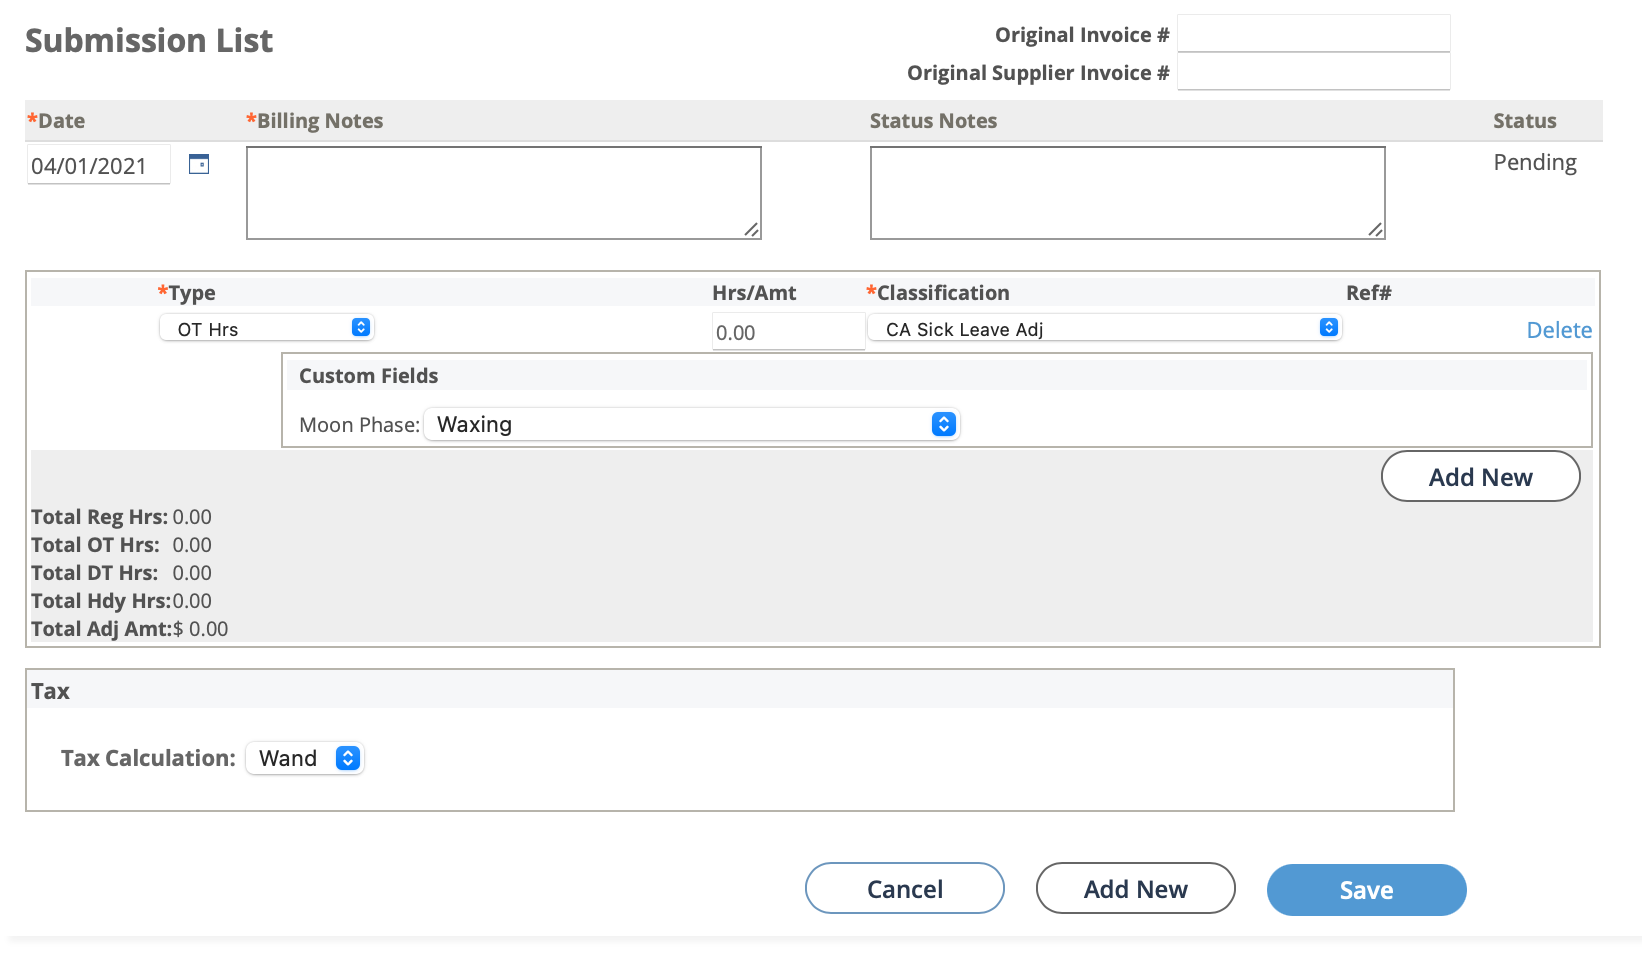
- Date - Enter the date for the billing item. You can also click the calendar icon to open a calendar pop up that allows you to select the date.
- Billing Notes - Enter text for the notes.
- Status Notes - Enter text for the notes.
- Type - Form the drop down, select the billing item type. Options are based on the client organization configuration and request type.
- Hrs/Amt - Enter the number of hours, or the time amount.
- Classification - From the drop down, select the item classification.
- Custom Fields - If any custom fields are configured, select the field value.
- If you are entering a benefit, populate/select the following:
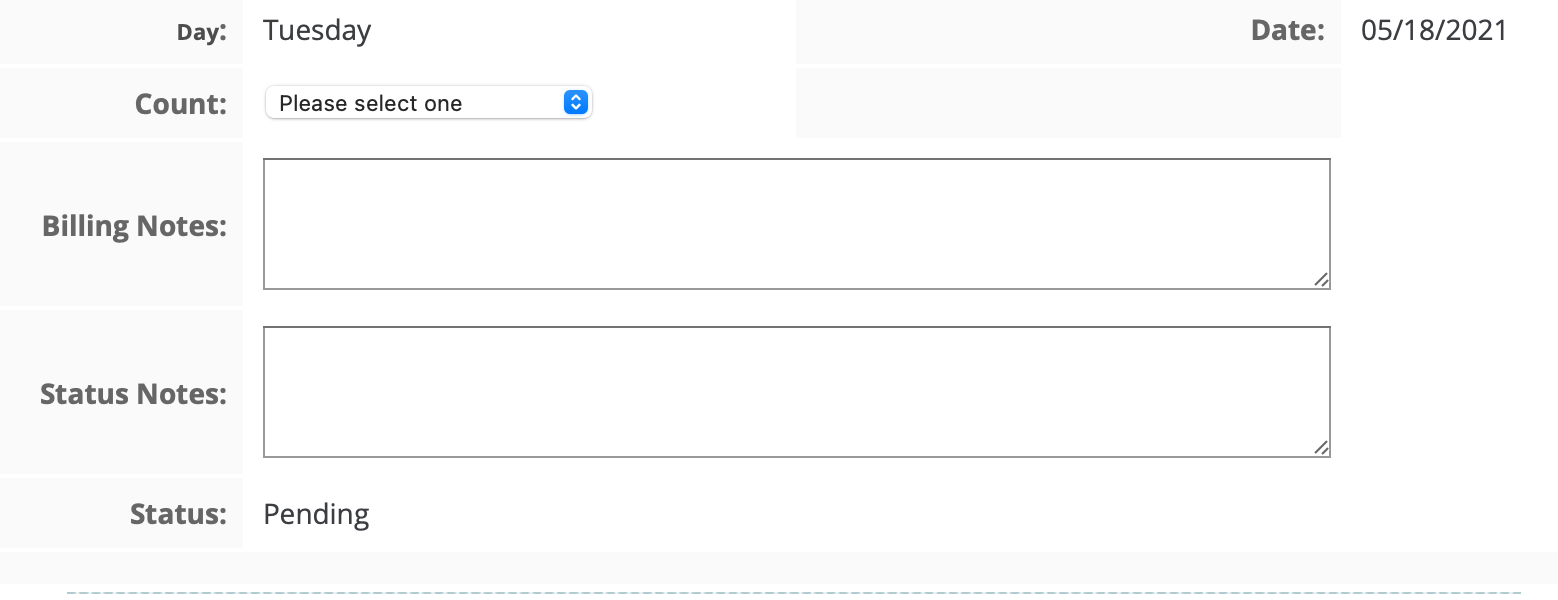
- Count - Select the number of benefits to add to the day.
- Billing Notes - Enter text for the notes.
- Status Notes - Enter text for the notes.
- If you are entering an expense, populate/select the following:

- Date/Day - Enter the date or day the expense occurred. You can also click the calendar icon to open a calendar pop up that allows you to select the date.
- Category - From the drop down, select the expense
category.Note:Expense categories are defined in the client organization's configuration. For more information about expense categories, see Expense Category.Note:If you are entering a travel-related stipend or per diem expense, the application automatically populates the line information with values defined in the engagement financials. See the relevant engagement financials section for more information.
- Description - Required field. Enter a description of the expense. Description must be greater than one character.
- Purpose - Required field. Enter a purpose of the expense. Purpose must be greater than five words (not characters).
- Amount - Enter amounts for the value stated on the receipt, the tax, and the value that was paid.
- Rcpt - Used for expense billing items. Select the check box if a
receipt is attached. Click Attach Scanned
Receipt and upload the receipt image.
If an expense is submitted by a worker with attached documentation (for example, a receipt), this field can be used to verify that the amount on the document matches the submitted billing amount. If a document is attached to a submitted time, click the document blue (link) text to open the attached file to verify any information. If the information is correct, edit the item detail and select the Aprvd (approved) check box.
For worker-submitted expenses that require a supplier/vendor to verify amounts and submitted documentation, leave the Rcpt check box unselected. The supplier/vendor for the engagement then must manually verify the information on the page in the Supplier view. Once the supplier has verified and set the appropriate status on the expense, you can verify and select the Rcpt check box to indicate the verification. The supplier/vendor is not able to view the expense in the Confirm Expenses view if the Rcpt check box in the MSP view. See Confirm Expenses.
- Custom Fields - Select values for any custom fields added to the
expense submission list.Note:Supplier custom fields are added in the client organization's configuration. For more information about this custom field type, see Custom Fields Configuration.
- If you are entering a travel expense, populate/select the
following:
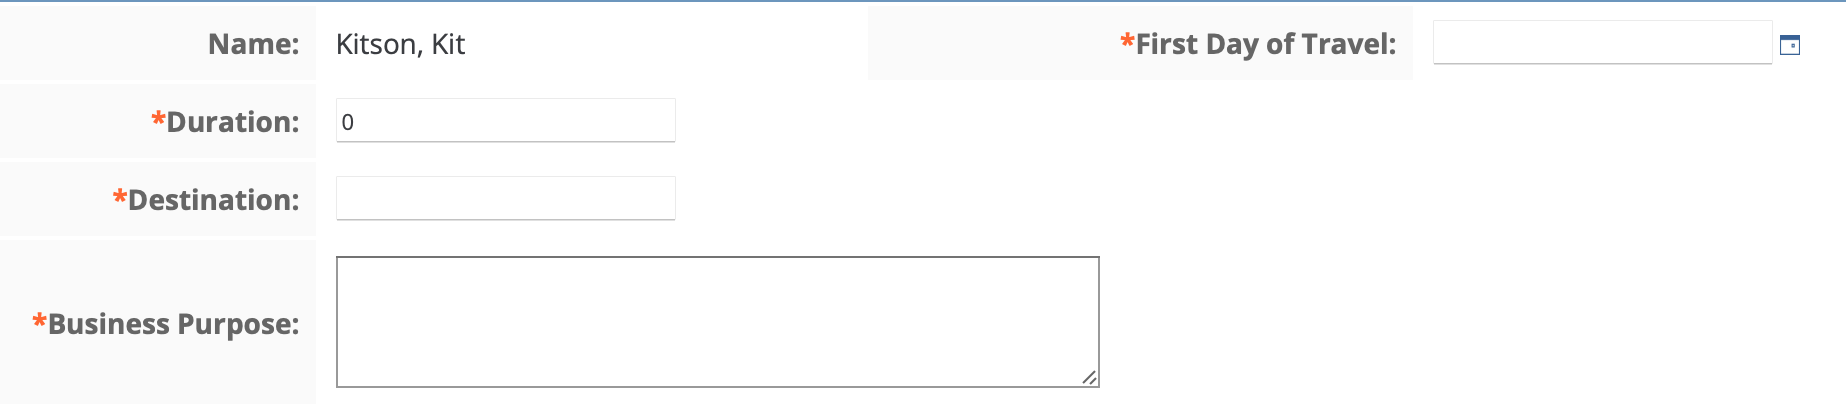
- Duration - Enter the number of days traveled.
- Destination - Enter the destination.
- Business Purpose - Enter the purpose for the travel.
- First Day of Travel - Enter the date for the first day of travel. You can also click the calendar icon to open a calendar pop up that allows you to select the date.
- If you are entering Time, using the time card
details, enter details for the billing item.
-
Optionally, add another item for the date by clicking
 and configuring the item fields.
-
If you are creating an adjustment or a project billing item and you have
permission, from the Tax Calculation drop down, select
the tax calculation method.
If the tax calculation method is set to 'Manual', you can add taxes to the billing item by navigating to it in the Billing page and editing the Financials section.Note:Options in this field are based on the client organization's location configuration. For more information about tax calculation, see Invoice Options for Locations.
-
Optionally, add another date for rebilling items by clicking .
-
Click
 .
.
- On the billing item details page, review your submission.
-
Set the following settings in the Operational Parameters
section, as they apply:
- Filter Billing - see Filter Billing.
- Apply MSP Fees - Select to apply any defined MSP fees.
- Include Volume Discount - Select to apply any defined volume discount.
- Apply Sales Tax - Select to apply sales tax.
-
Set the following settings in the Operations section, as
they apply:
- Route For Line Manager - If selected, after clicking
 , the billing item is created and sent to
the time and expense approver after the billing script runs. If
unselected the item is created and approved with the creator's
name.
, the billing item is created and sent to
the time and expense approver after the billing script runs. If
unselected the item is created and approved with the creator's
name. - Force Create the Billing Line on Submission - If selected, the billing
item is automatically created after clicking . If selected, and 'Route For Line Manager
is selected, the item is created and set to 'Pending Manager
Approval'.
- Route For Line Manager - If selected, after clicking
-
Click .