Add Work Order for Approval
In order to assign a work order to a request/engagement, ensure the
following:
- Approval Routing workflow is configured, and enabled for the country. See Engagement Settings.
- Work Order template is configured at the country level or OpUnit level. Can be master or custom document. See Work Orders.
Note:
The signing process can be bypassed if configured in the routing workflow
(Allow MSP To Skip eSign). If not configured, the
document must be signed before the engagement can start. See Engagement Settings.
Note:
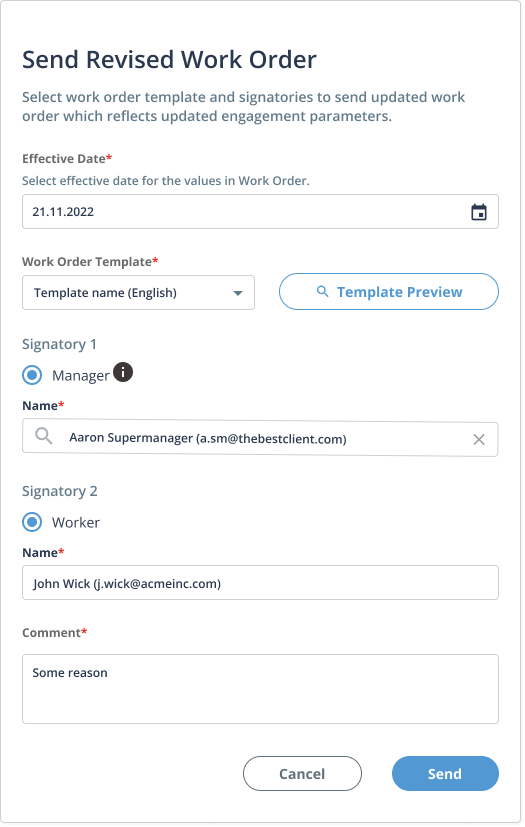
A revised work order document can be sent after the original document has been
sent and/or sent and signed. Revision includes modification of the work order
template at the MSP organization or client country level. Sending a revised
document cancels the process at any stage in the signing workflow and restarts
it. To resend, navigate to the engagement's Approvals
tab, and click  , and configure the details. Details can include new
signatories, a revised document, or a different document template.
, and configure the details. Details can include new
signatories, a revised document, or a different document template.
Note:
A red asterisk (*) indicates a required field.
- Navigate to the Requests page of the MSP view.
-
Select the request type (Staffing or Payroll) by clicking the type
button.
You can also enter the engagement number in the search field.
- Select the engagement by clicking the number link in the Requisition Number column.
- On the Engagement page, in the Approvals tab, scroll to the Work Order section.
-
Click
 .
.
-
In the Modify Work Order pop up, configure the following
fields:
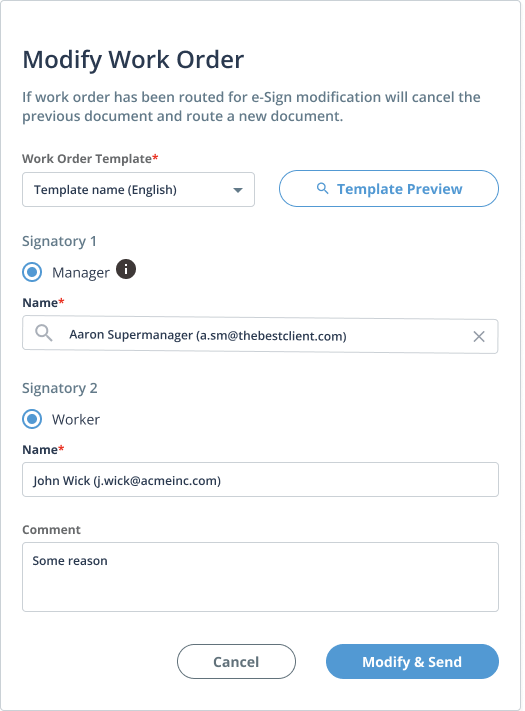
- Work Order Template - Required. From the drop down, select the template to attach. Only configured template for the engagement country appear.
- Signatory 1 - The supplier/vendor signatory. Enter text in the name field. The application suggests a configured supplier contact form the supplier organization.
- Signatory 2 - The worker filling the request. Enter text in the name field. The application suggests the worker's name.
- Comment - Enter a free text comment.
-
Click
 .
.