Configure a User
- Navigate to the Clients page on the Configuration view.
-
Click the link in the NAME column for the client whose
information you want to modify.
The Client Info page appears.
- Click the User tab.
-
Using the buttons, select the type of user to configure.
 Note:The MSP and Admin options have additional sub-options, depending on your role.
 -
Enter the following information for the user.
- First Name
- Last Name
- Email - Used to send notifications through the application email
functions. For more information about emails, see Email Templates.Note:If there is a requirement for a user to not receive email notifications for any action or condition, enter '@noemail.com' in this field.
- Username - This value is automatically generated by the application, but can be changed.
- User role options - These options depend on the type of user that you
are configuring.
- For a Supplier role, enter the user's supplier organization in the Supplier Name field.
- For a Client role, enter the operational unit in the Operational Unit field. From the Department Level drop down, select the department level, and enter the department in the Department field. This selection is filtered based on the selections that you make in the Operational Unit and Department fields.
- For an MSP Admin role, enter the clients in the Clients field. Only clients assigned to the MSP organization are available for selection. To automatically add all clients, click Select All. You can optionally click Select Active Clients Only, which only adds active clients for the MSP organization.
- In the Permissions section, select the appropriate permissions for your user. Refer to the following for permissions by user type:
-
If you are configuring a client manager user, complete the additional settings
in the following table:
Note:Some settings only appear if the client organization is configured for the information, for example, operational units. If no OpUnits are configured, then the setting does not appear in the user creation workflow.
Setting Description Restricted Access Select the Block Bill Rate fields from view when they are a delegate to hide bill rate fields if the client manager user is a delegate of another manager user. Operational Unit Use the text box to enter the operational unit that the client user is a part of. The application automatically suggests configured names when you enter text. Department Level Use the drop down to select the configured department level that the client manager user is a part of. Department Use the text box to enter the department name that the client manager user is a part of. The application automatically suggests departments based on the text entered and the department level selected in the Department Level field. + Add Business Organization Click the blue link to configure a business organization for the client manager user. 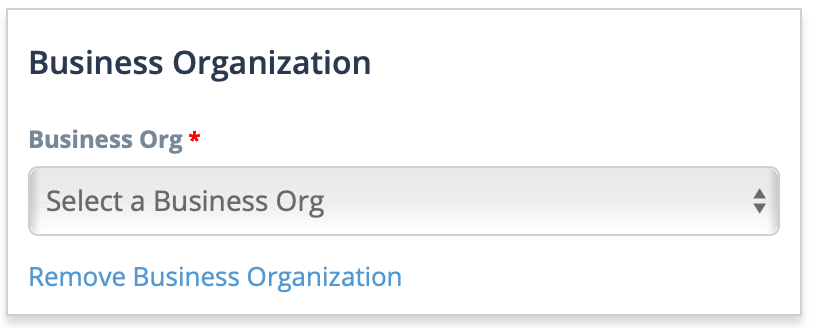
In the Business Organization section that appears, from the Business Org drop down, select the business organization that the client manager user is associated with. After selecting a value, depending on the configured operational units or departments, configure the additional required information. See Business Organizations in the VMS.
Depending on how client manager users are managed for business organizations (created at the business organization level or at the parent client level), this option might not appear during user creation.
You can associate a client manager with more than one business organization. To add another business organization association, click the + Add Business Organization text and configure the required fields.
-
Click
 .
The user is sent an account activation email with a link to set their password. You must have email configured for your client organization before the user email is sent. For more information about this setting, see Email Settings.
.
The user is sent an account activation email with a link to set their password. You must have email configured for your client organization before the user email is sent. For more information about this setting, see Email Settings.