Submit Expense for Worker
Please have the following information available when submitting
expenses:
- If the expense is travel related, have the duration (days), the first day of travel (date), and the destination, the business purpose. See Travel Related Expense.
- Navigate to the Home page in the Supplier view.
- Click the Billing tab.
- Click the Add New sub tab.
- In the Add New Billing : Search section, select 'Worker' from the Resource Type drop down.
-
Locate the worker by entering the worker's name, or enter the engagement
number, and then click
 .
.
- From the Results table, select resource by clicking the blue name text.
-
On the Add New Billing : Requisition Selection section,
select the requisition to add the time for by clicking
Select.
Note:The worker might have more than one engagement.
- On the Add New Billing : Parameters section, from the Billing Type drop down, select Expense.
- Optionally, if the expense is travel related, see Travel Related Expense.
-
Click
 .
.
-
Specify where to submit the time, as follows:
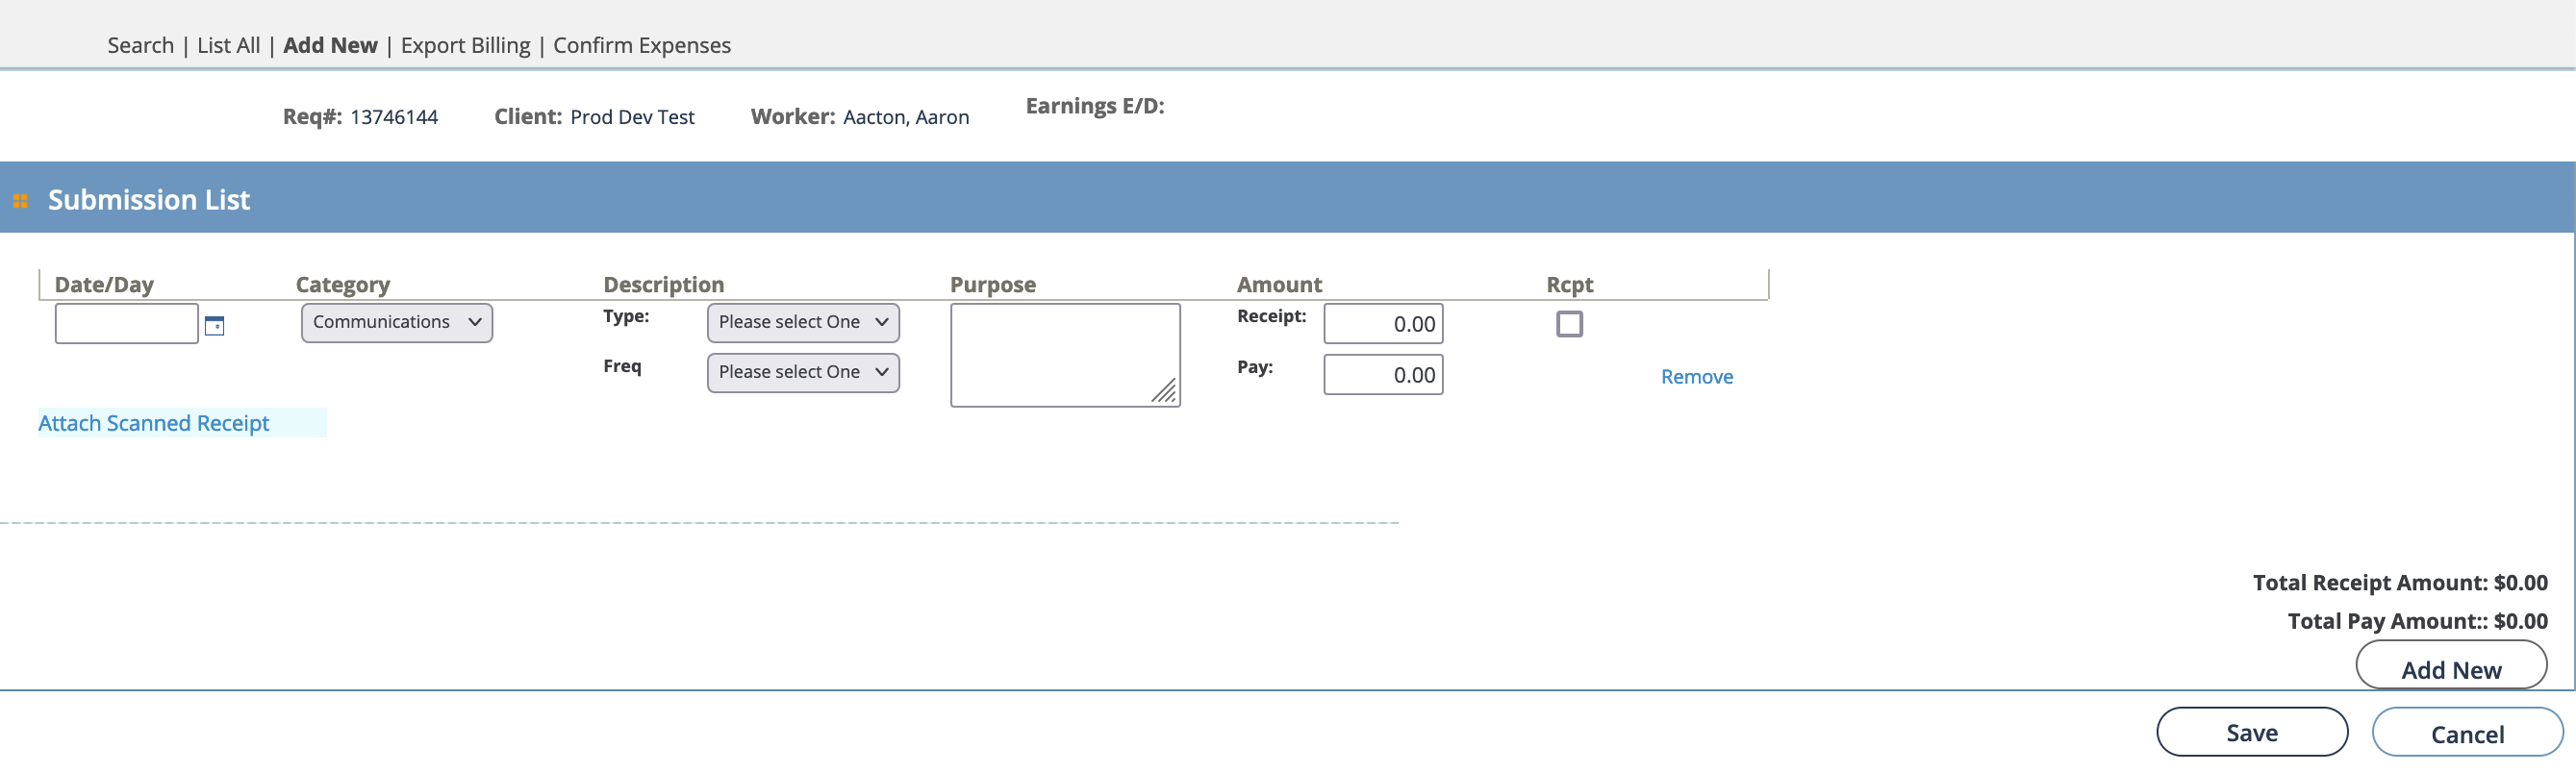
- Date/Day - Enter the date/day that the expense was incurred.
- Category - Select the category. This selection defines the options for the description. See the following table:
Note:The following descriptions only describe the default category inputs in the system. Custom categories can require additional sets of information.Category Description Fields Communications Select the Type (method) of communication, and the Freq (frequency). The frequency is the number of times the communication was made from the type of communication. Miscellaneous Use the free text box to enter a description of the expense. Parking Use the free text box to enter a description of the parking expense. Tolls Use the free text box to enter a description of the toll expense. - Purpose - Using the text box, enter the purpose for the expense.
- Amount - In the Receipt field, enter the total amount on the receipt. In the Pay field, enter the actual amount paid for the expense.
- Rcpt - Select the check box if you are attaching a receipt.
 - Click to add a receipt (file)
to the billing.
- Click to add a receipt (file)
to the billing.
-
Click
 .
.