Create a Business Organization
This process is similar to creating a supplier agreement. You select the organizations, user, locations, job categories, and departments that belong to the business unit. It is recommended that you review available data before you begin configuring a business unit to ensure that your desired selections are available during entity creation.
The MSP Admin or SysAdmin role is required to create this organization type in the VMS. See Users and Permissions.
- Navigate to the Configuration in the MSP view.
- From the Client drop down, select the client to create the organization for.
-
Click
 .
.
-
In step 1 (Business Org Details) of the creation wizard,
configure the following fields:
Note:A red asterisk (*) indicates a required field.
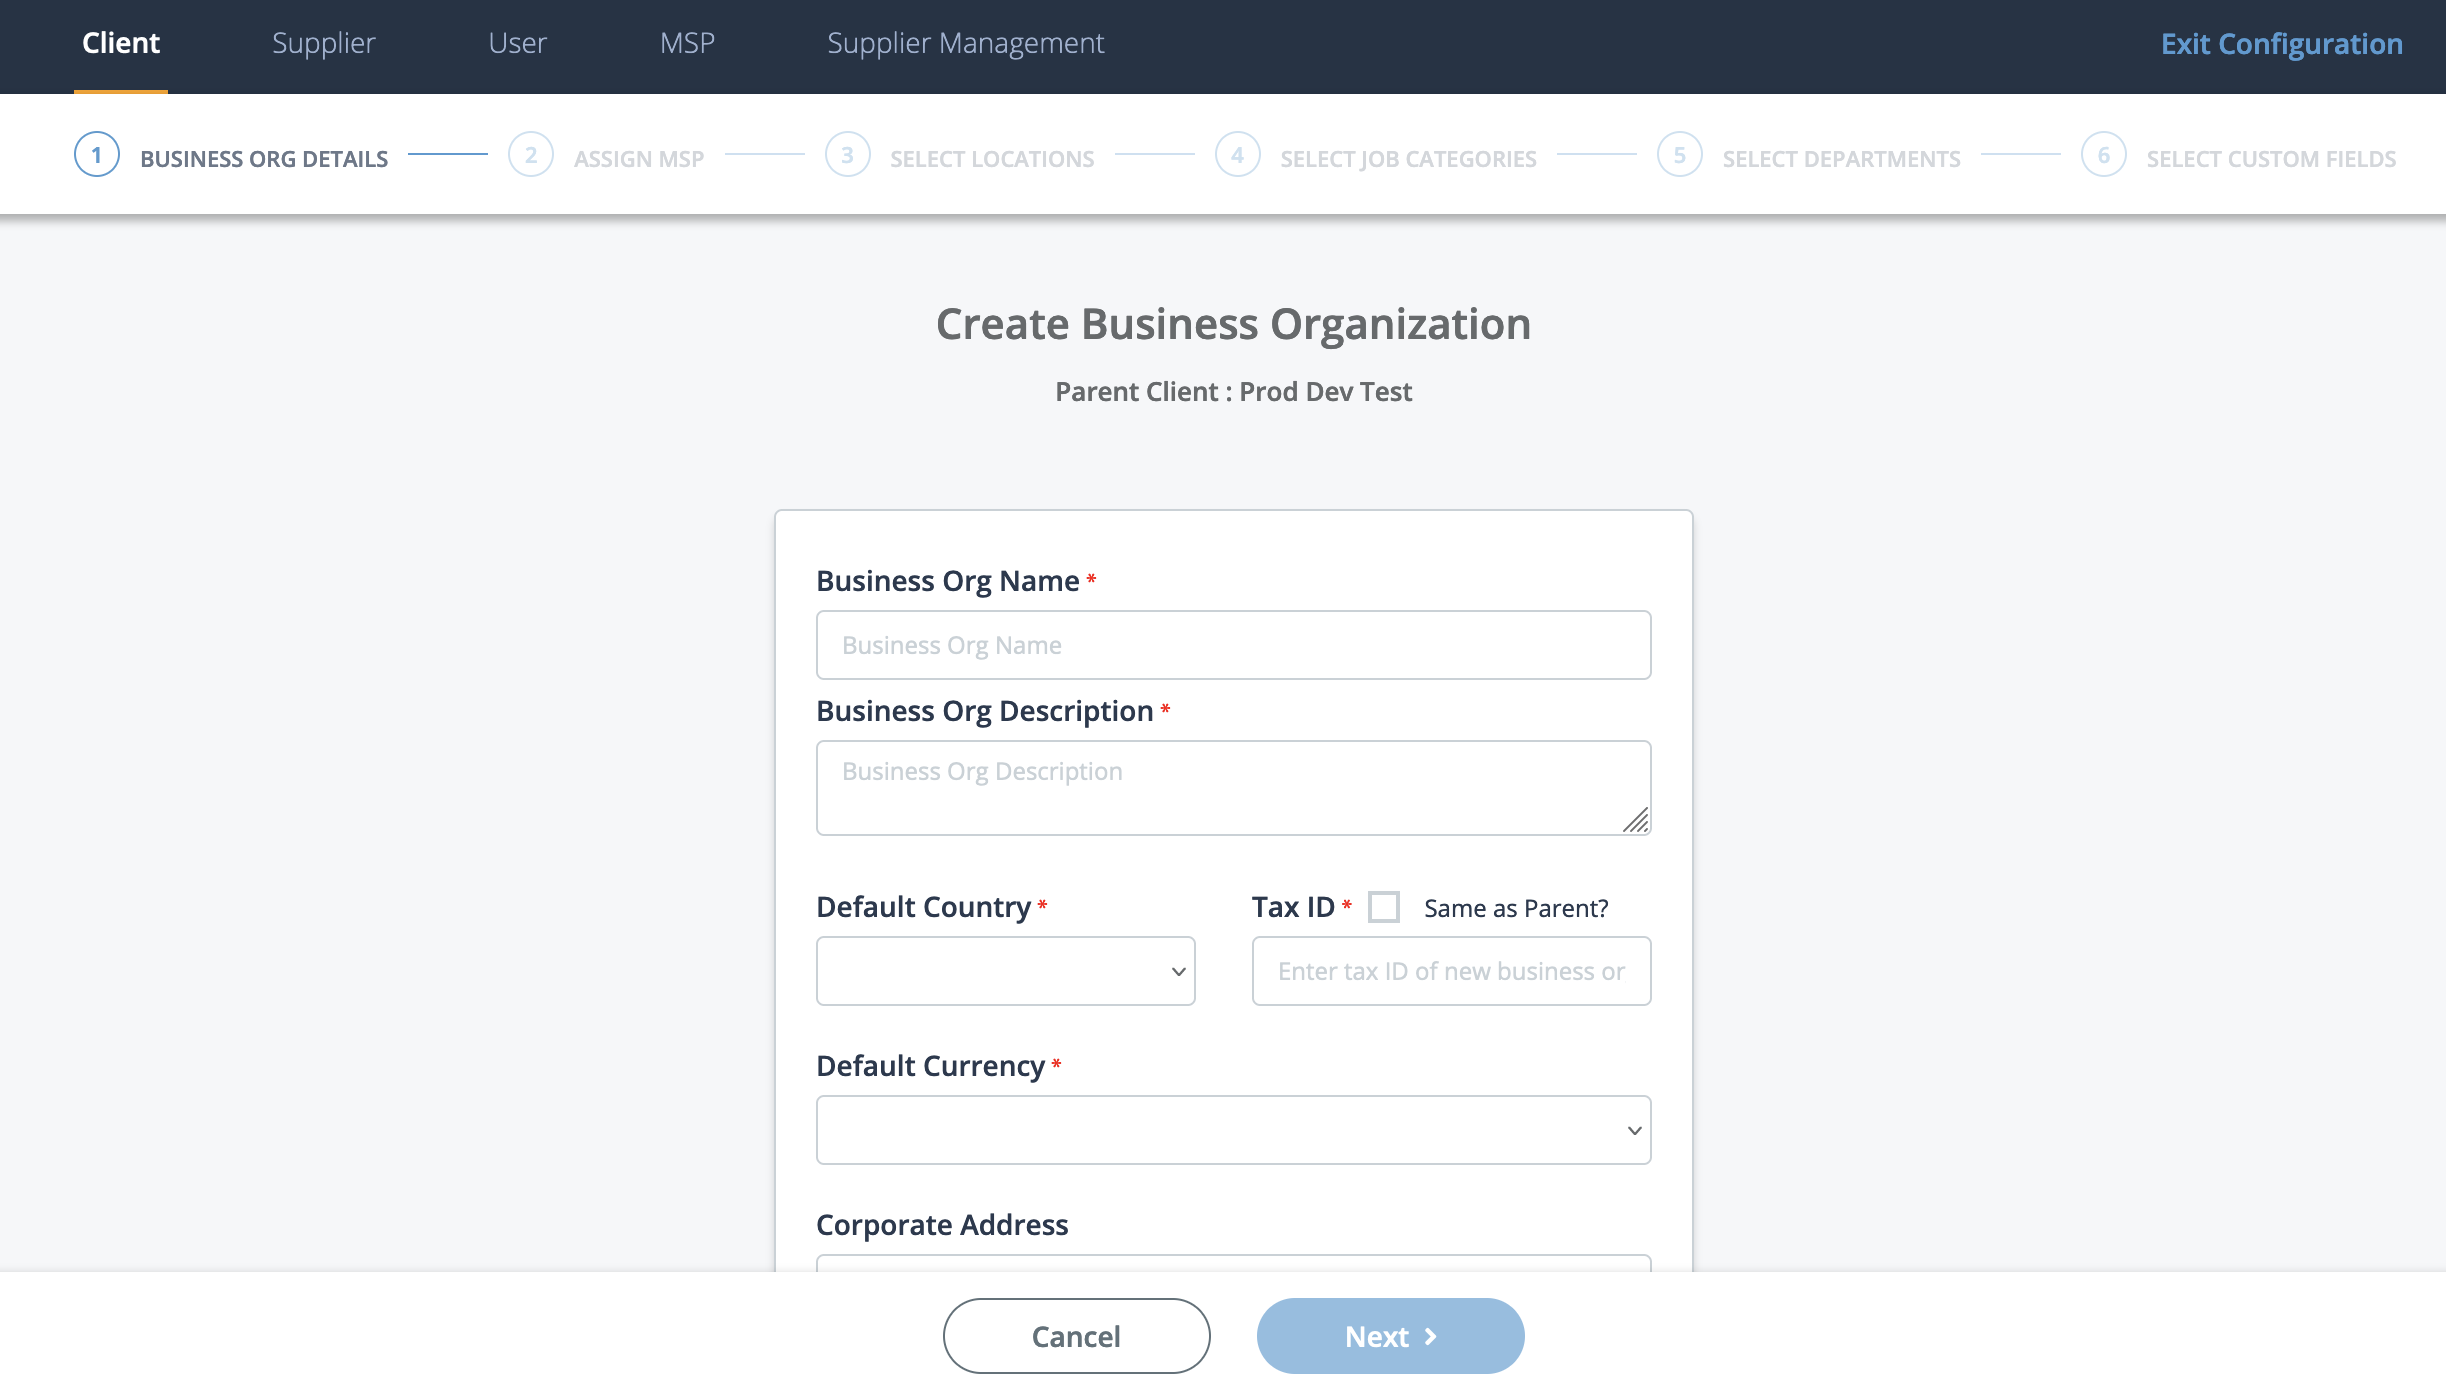
Field Description Business Org Name Enter the name of the business organization under the client organization. Business Organization Description Enter the description of the business organization. Default Currency From the drop down, select the default currency for the business organization. This currency setting determines calculations and assigns a default currency value where applicable. Default Country From the drop down, select the default country for the business organization. Tax ID Enter the tax identifier for the business organization. If this value is the same as the parent client organization, select the Same as Parent check box. Corporate Address Enter the corporate address for the business organization. Address Line 2 Enter the secondary address information for the business organization, for example, suite number. City Enter the city for the business organization. State/Province Enter the state or province for the business organization. Postal Code Enter the postal code for the business organization. Billing Address If the billing address is the same as the organizational corporate address, click the Same as above check box. If not, enter the address information. -
Click
 .
.
-
In step 2 (Assign MSP) of the wizard, click in the
MSP Organization field to open a list of configured
MSP organizations. You must select a name from this list.

-
In the MSP Admins field, enter the name of the MSP Admin
users for the business organization. The VMS automatically suggests configured
admins within the MSP organization.
Note:You can add one or many admins for the business organization.
For more information about setting up MSP organizations, see MSP Organizations in the System.
-
Click .
-
In step 3 (Select Locations) of the wizard, using the
check boxes, select the configured client locations. You can expand each country
by clicking the arrow.
You can select all of the client organization's locations by toggling the All Client Locations switch.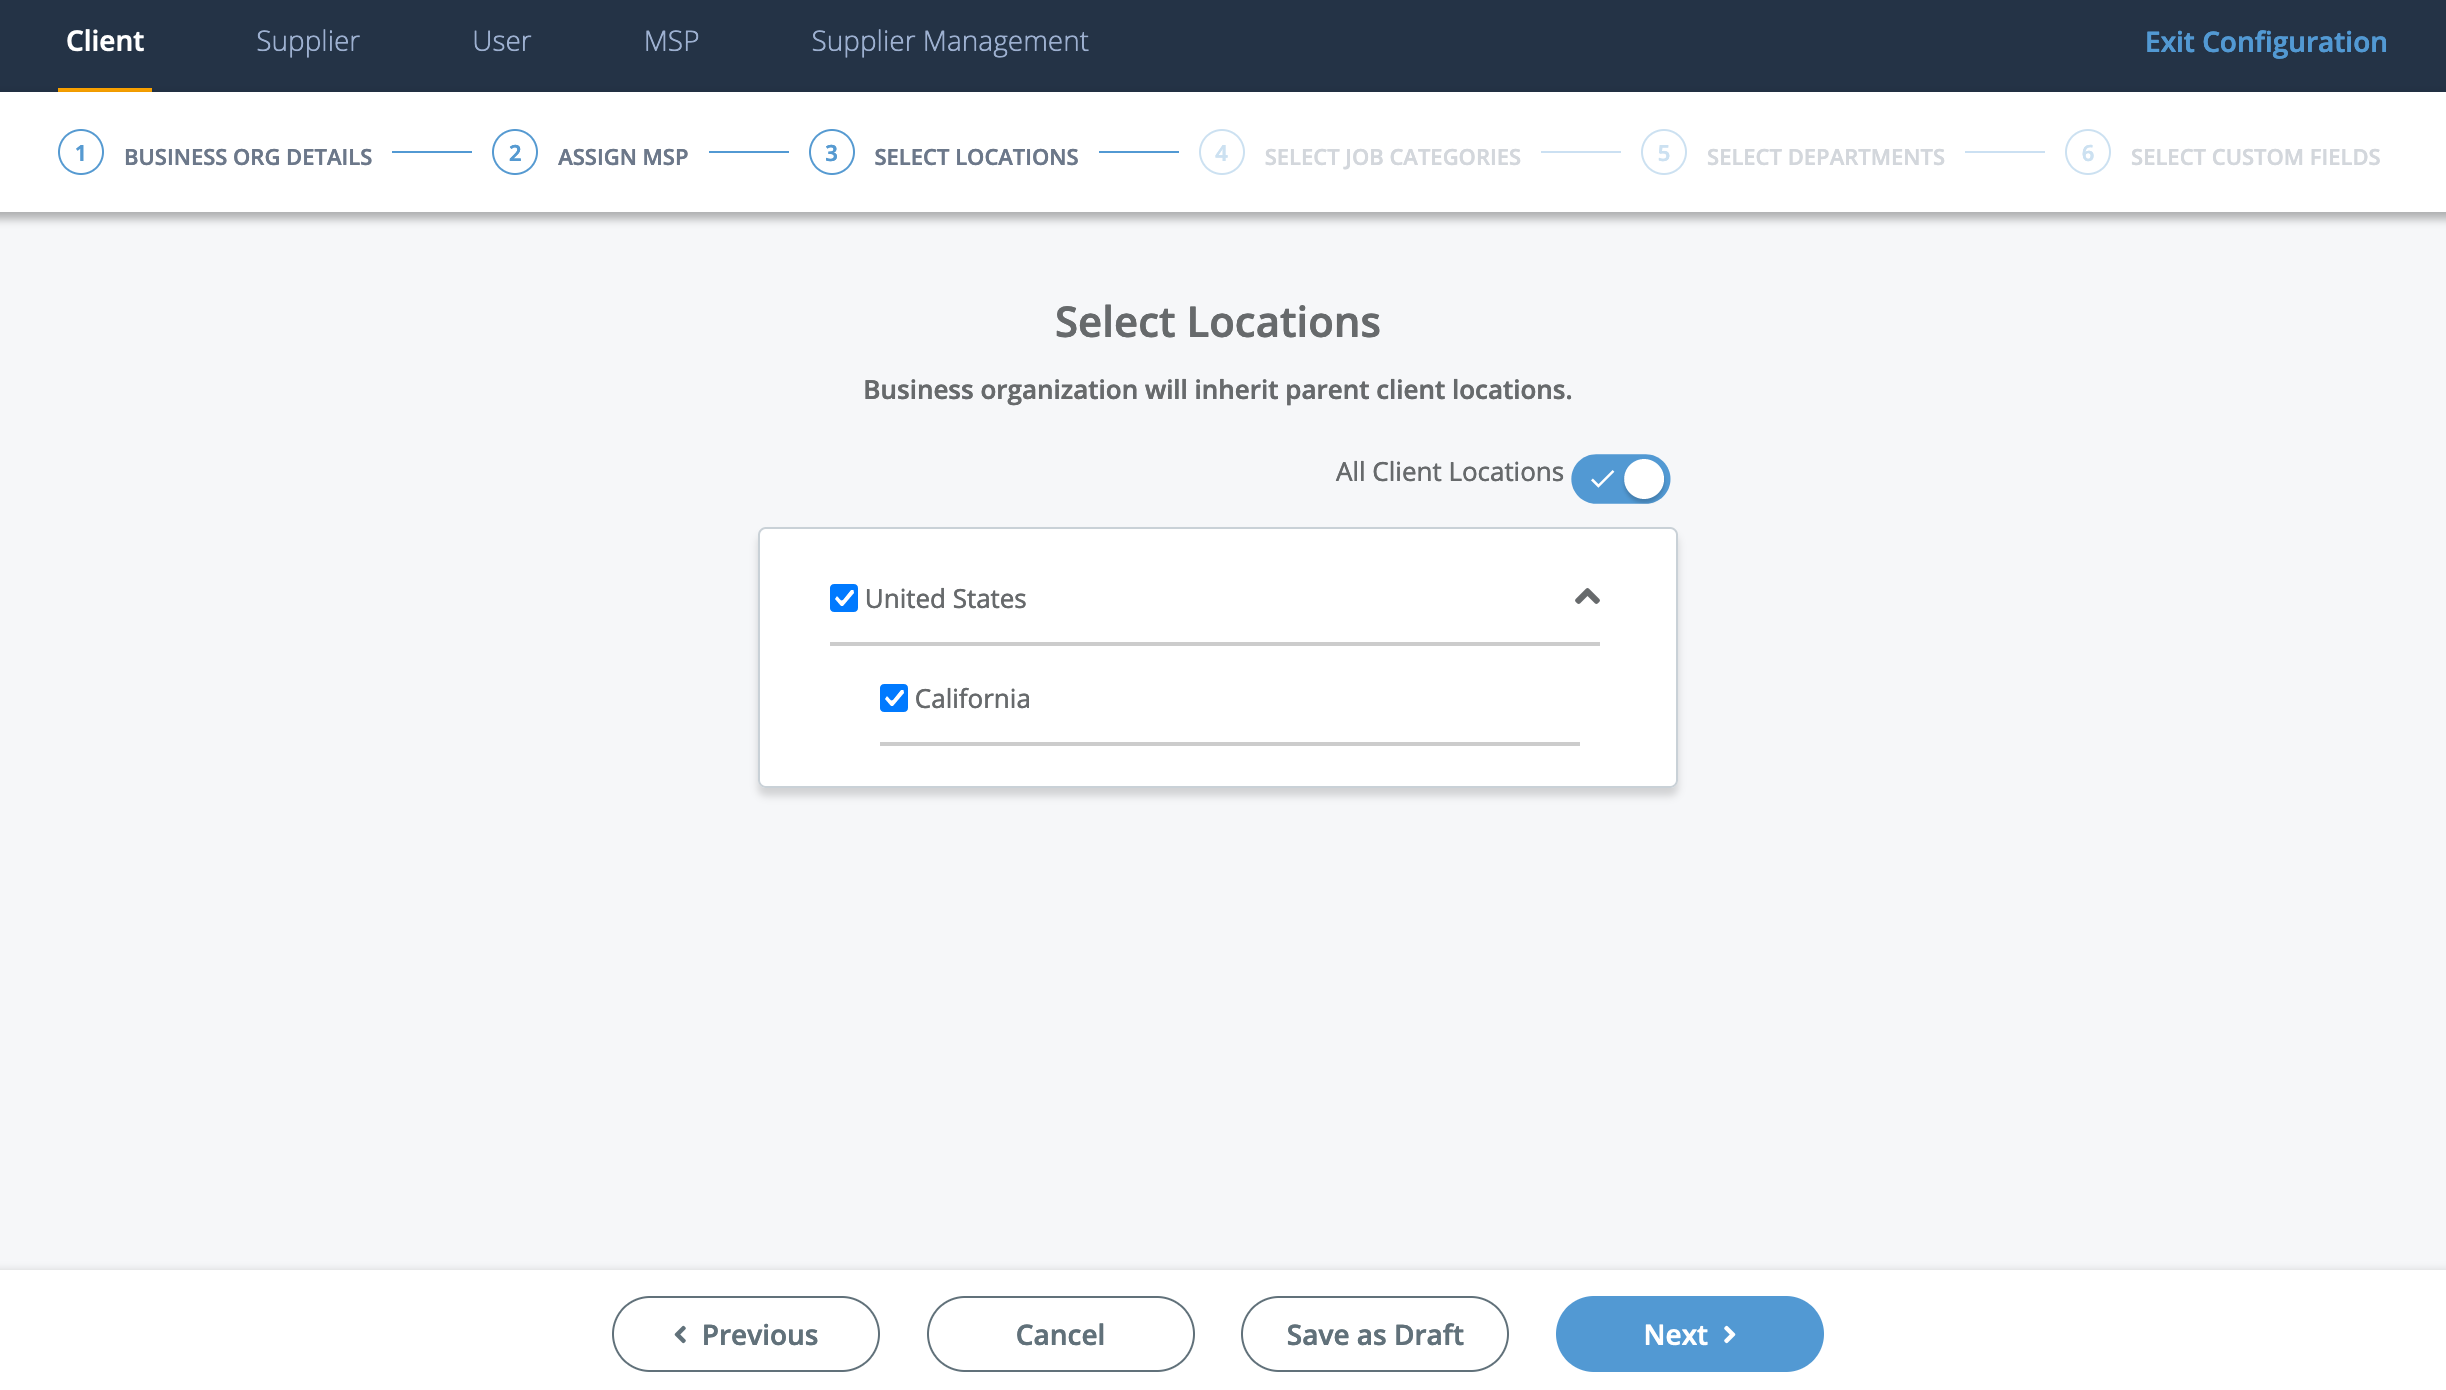
To configure a location at the client country level, see Client Locations.
-
Click .
-
In step 4 (Select Job Categories) of the wizard, using
the check boxes, select the configured client job categories. You can expand
each country by clicking the arrow.
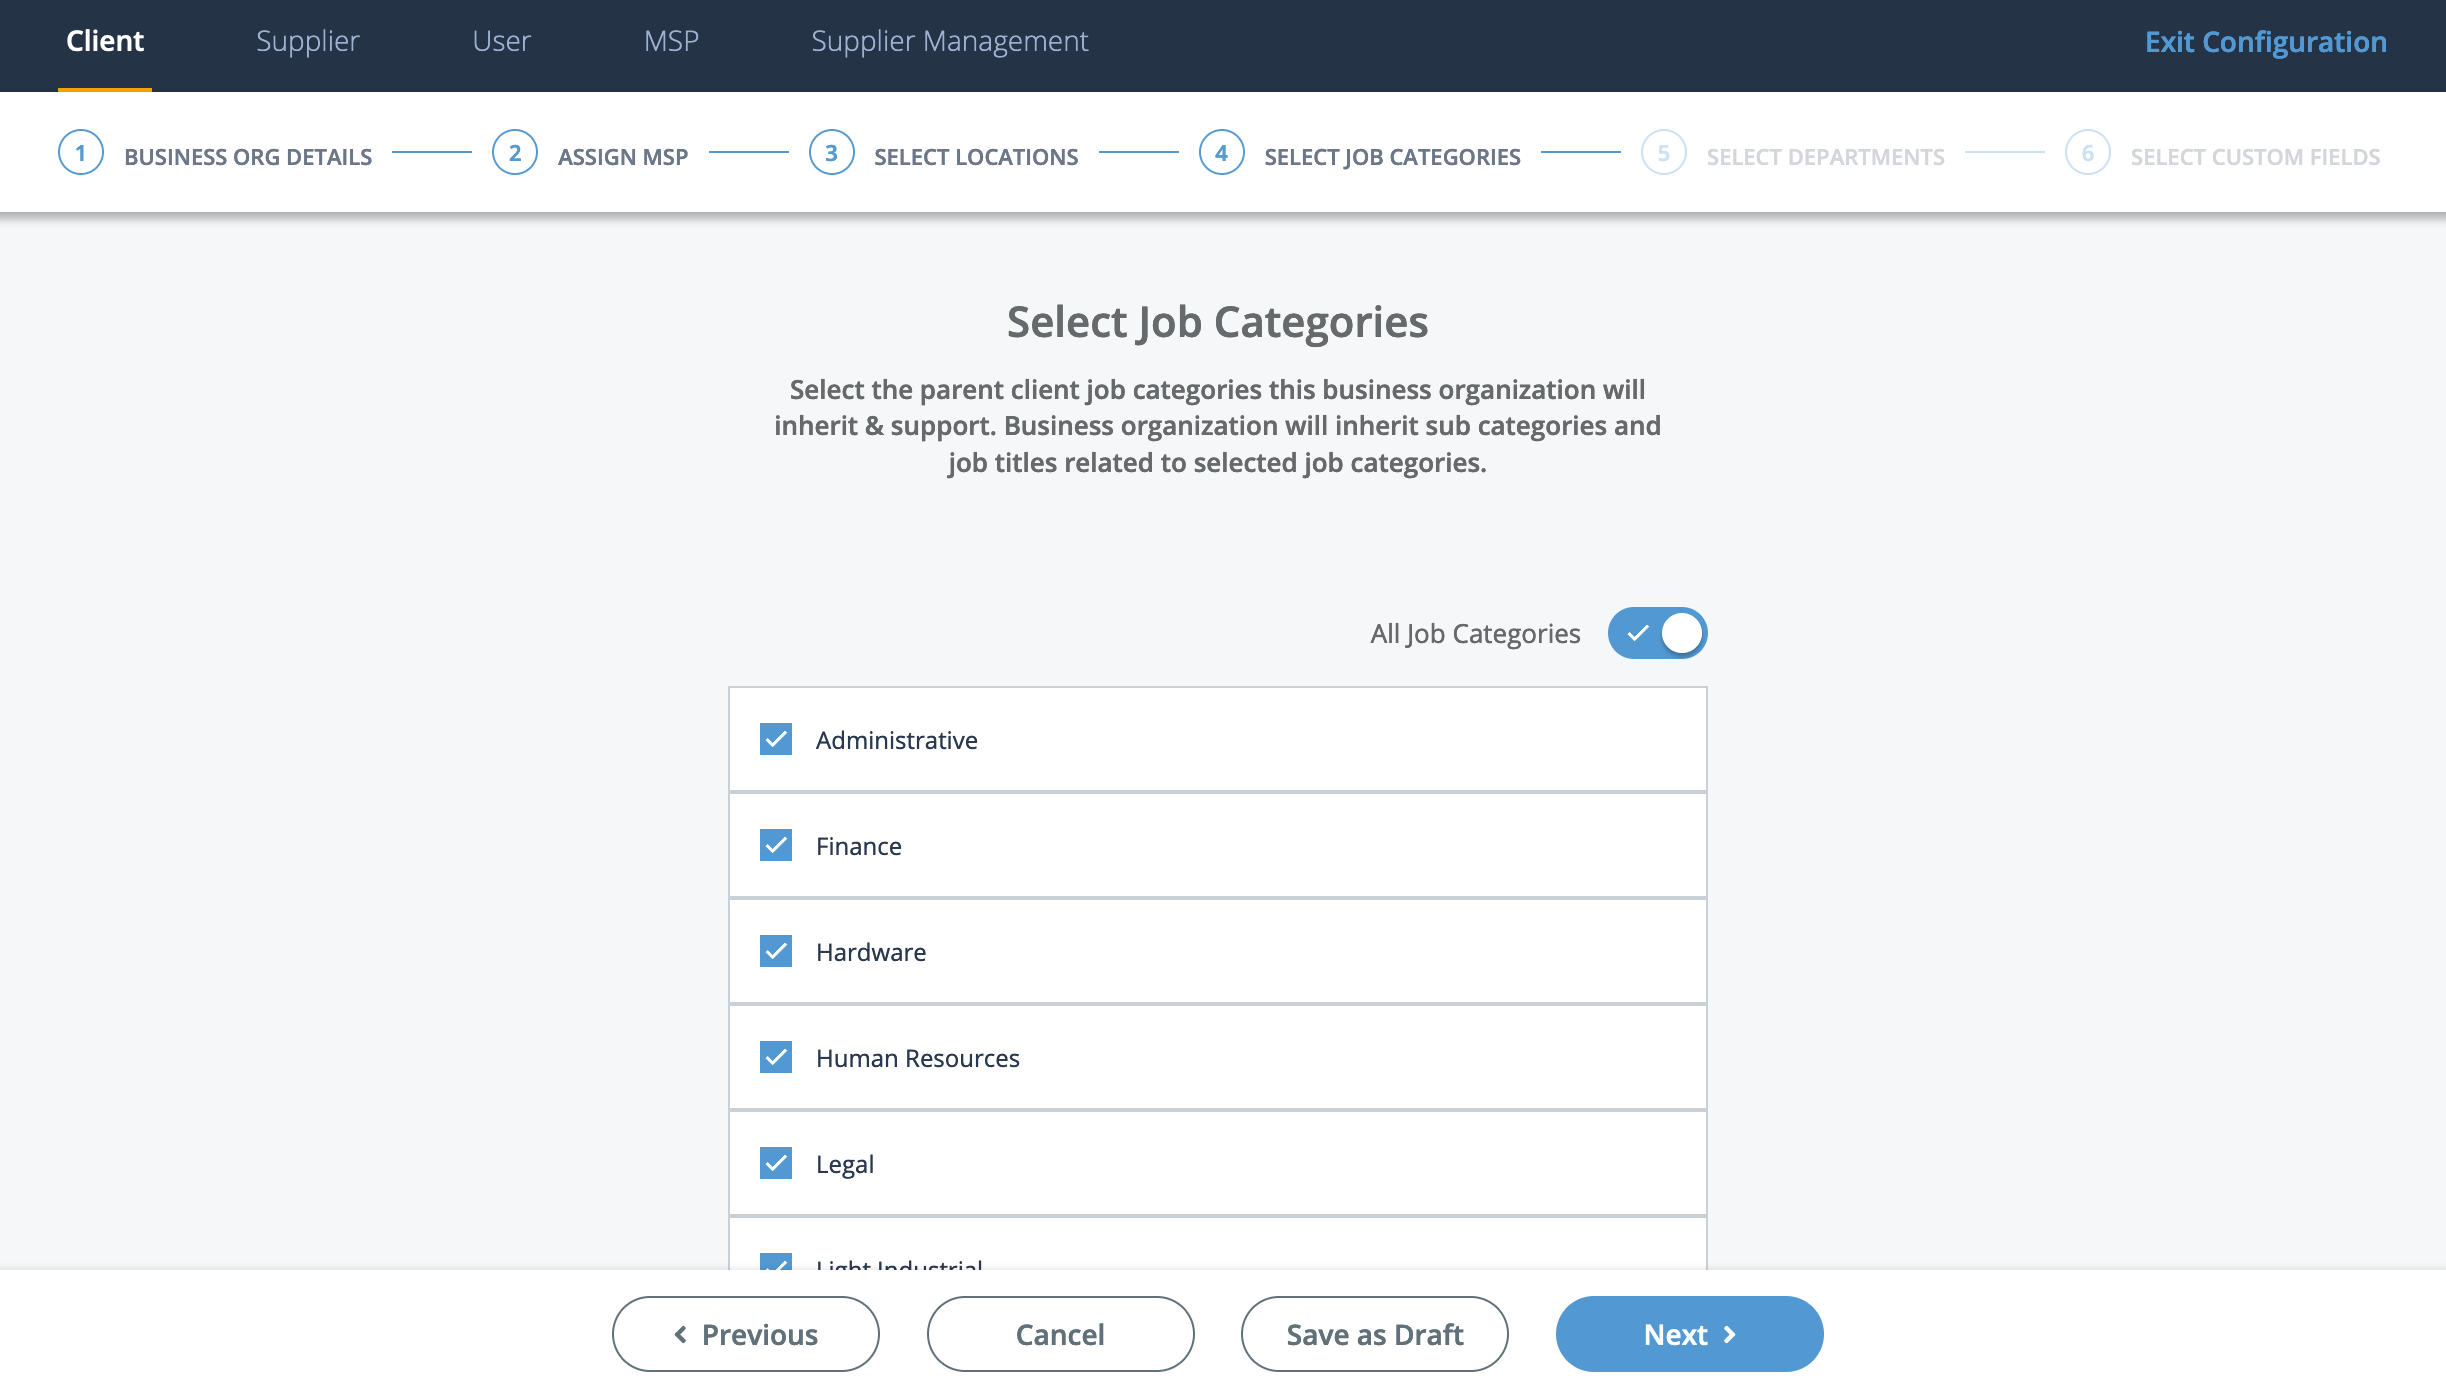
You can select all of the client organization's job categories by toggling the All Job Categories switch.
For more information about job categories, see Market Rate Module.
-
In step 5 (Select Departments) of the wizard, enable the
business organization to access all configured departments at the parent client
organizational level.
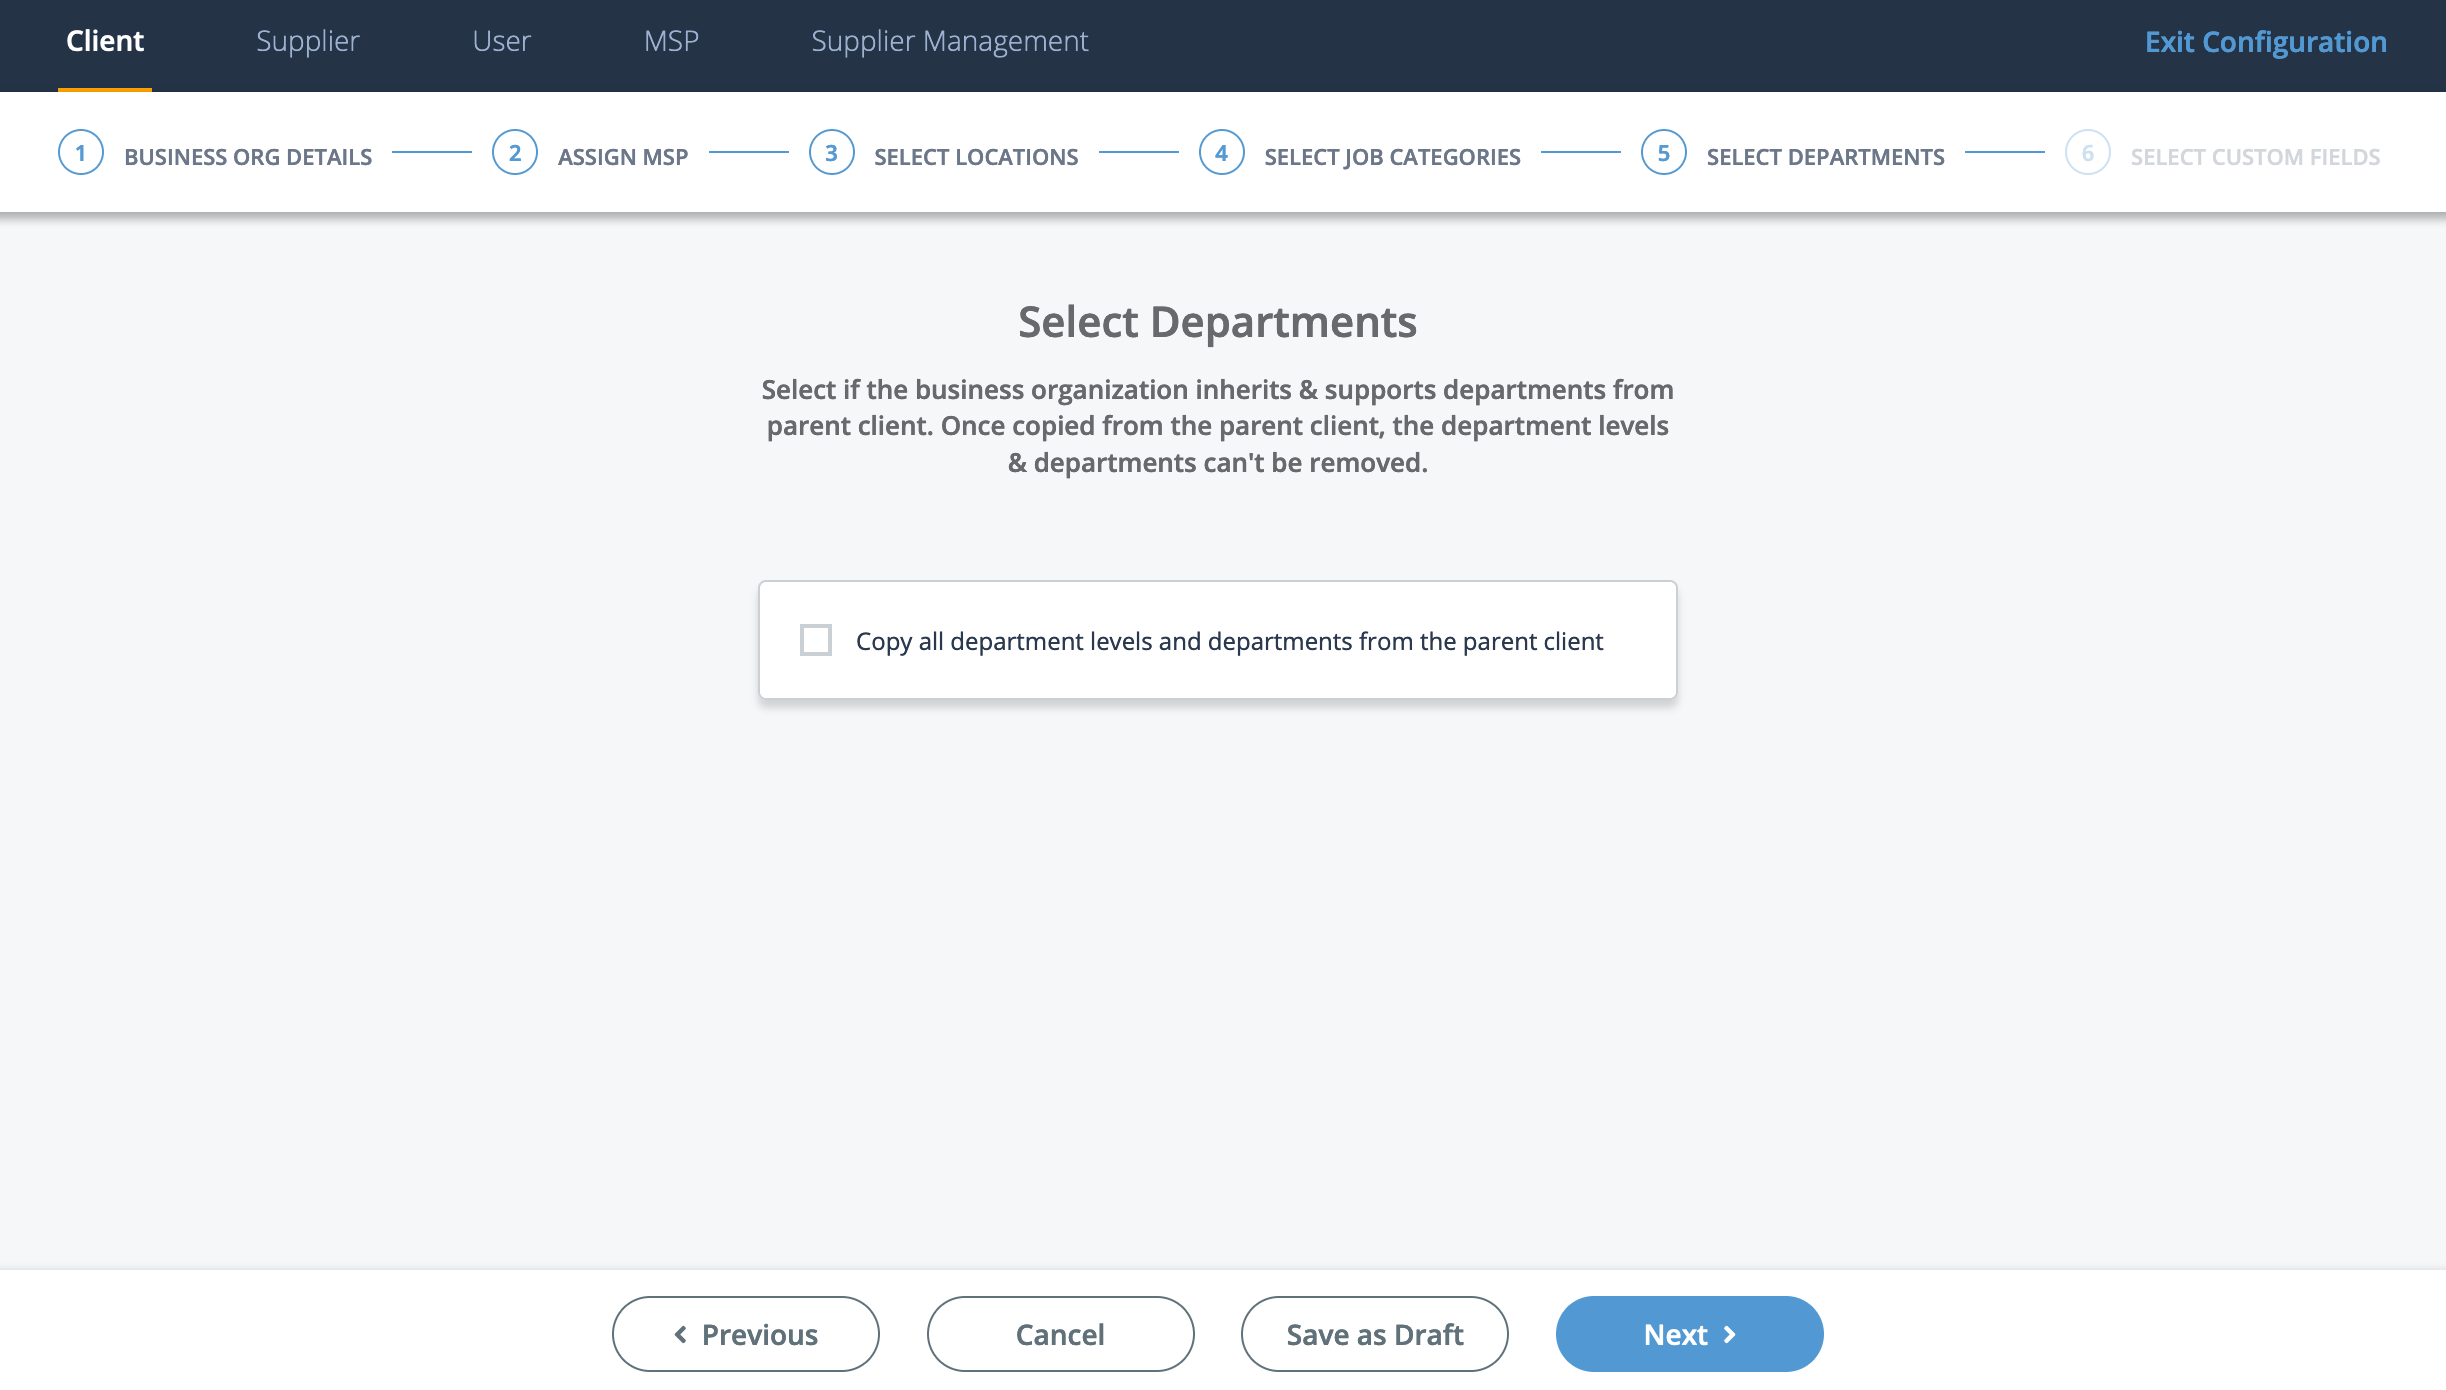
If you select the Copy all department levels and departments from the parent client check box, then the entire department structure is enabled for the business organization. If not, the MSP Admin user for the MSP organization needs to create the department structure within the organization.
-
In step 6 (Select Custom Fields) of the wizard, select
the accessible custom fields for the business organization.
Custom fields are configured at the parent organization level by category. You can enable all custom fields within the client organization by toggling the All Custom Fields toggle switch.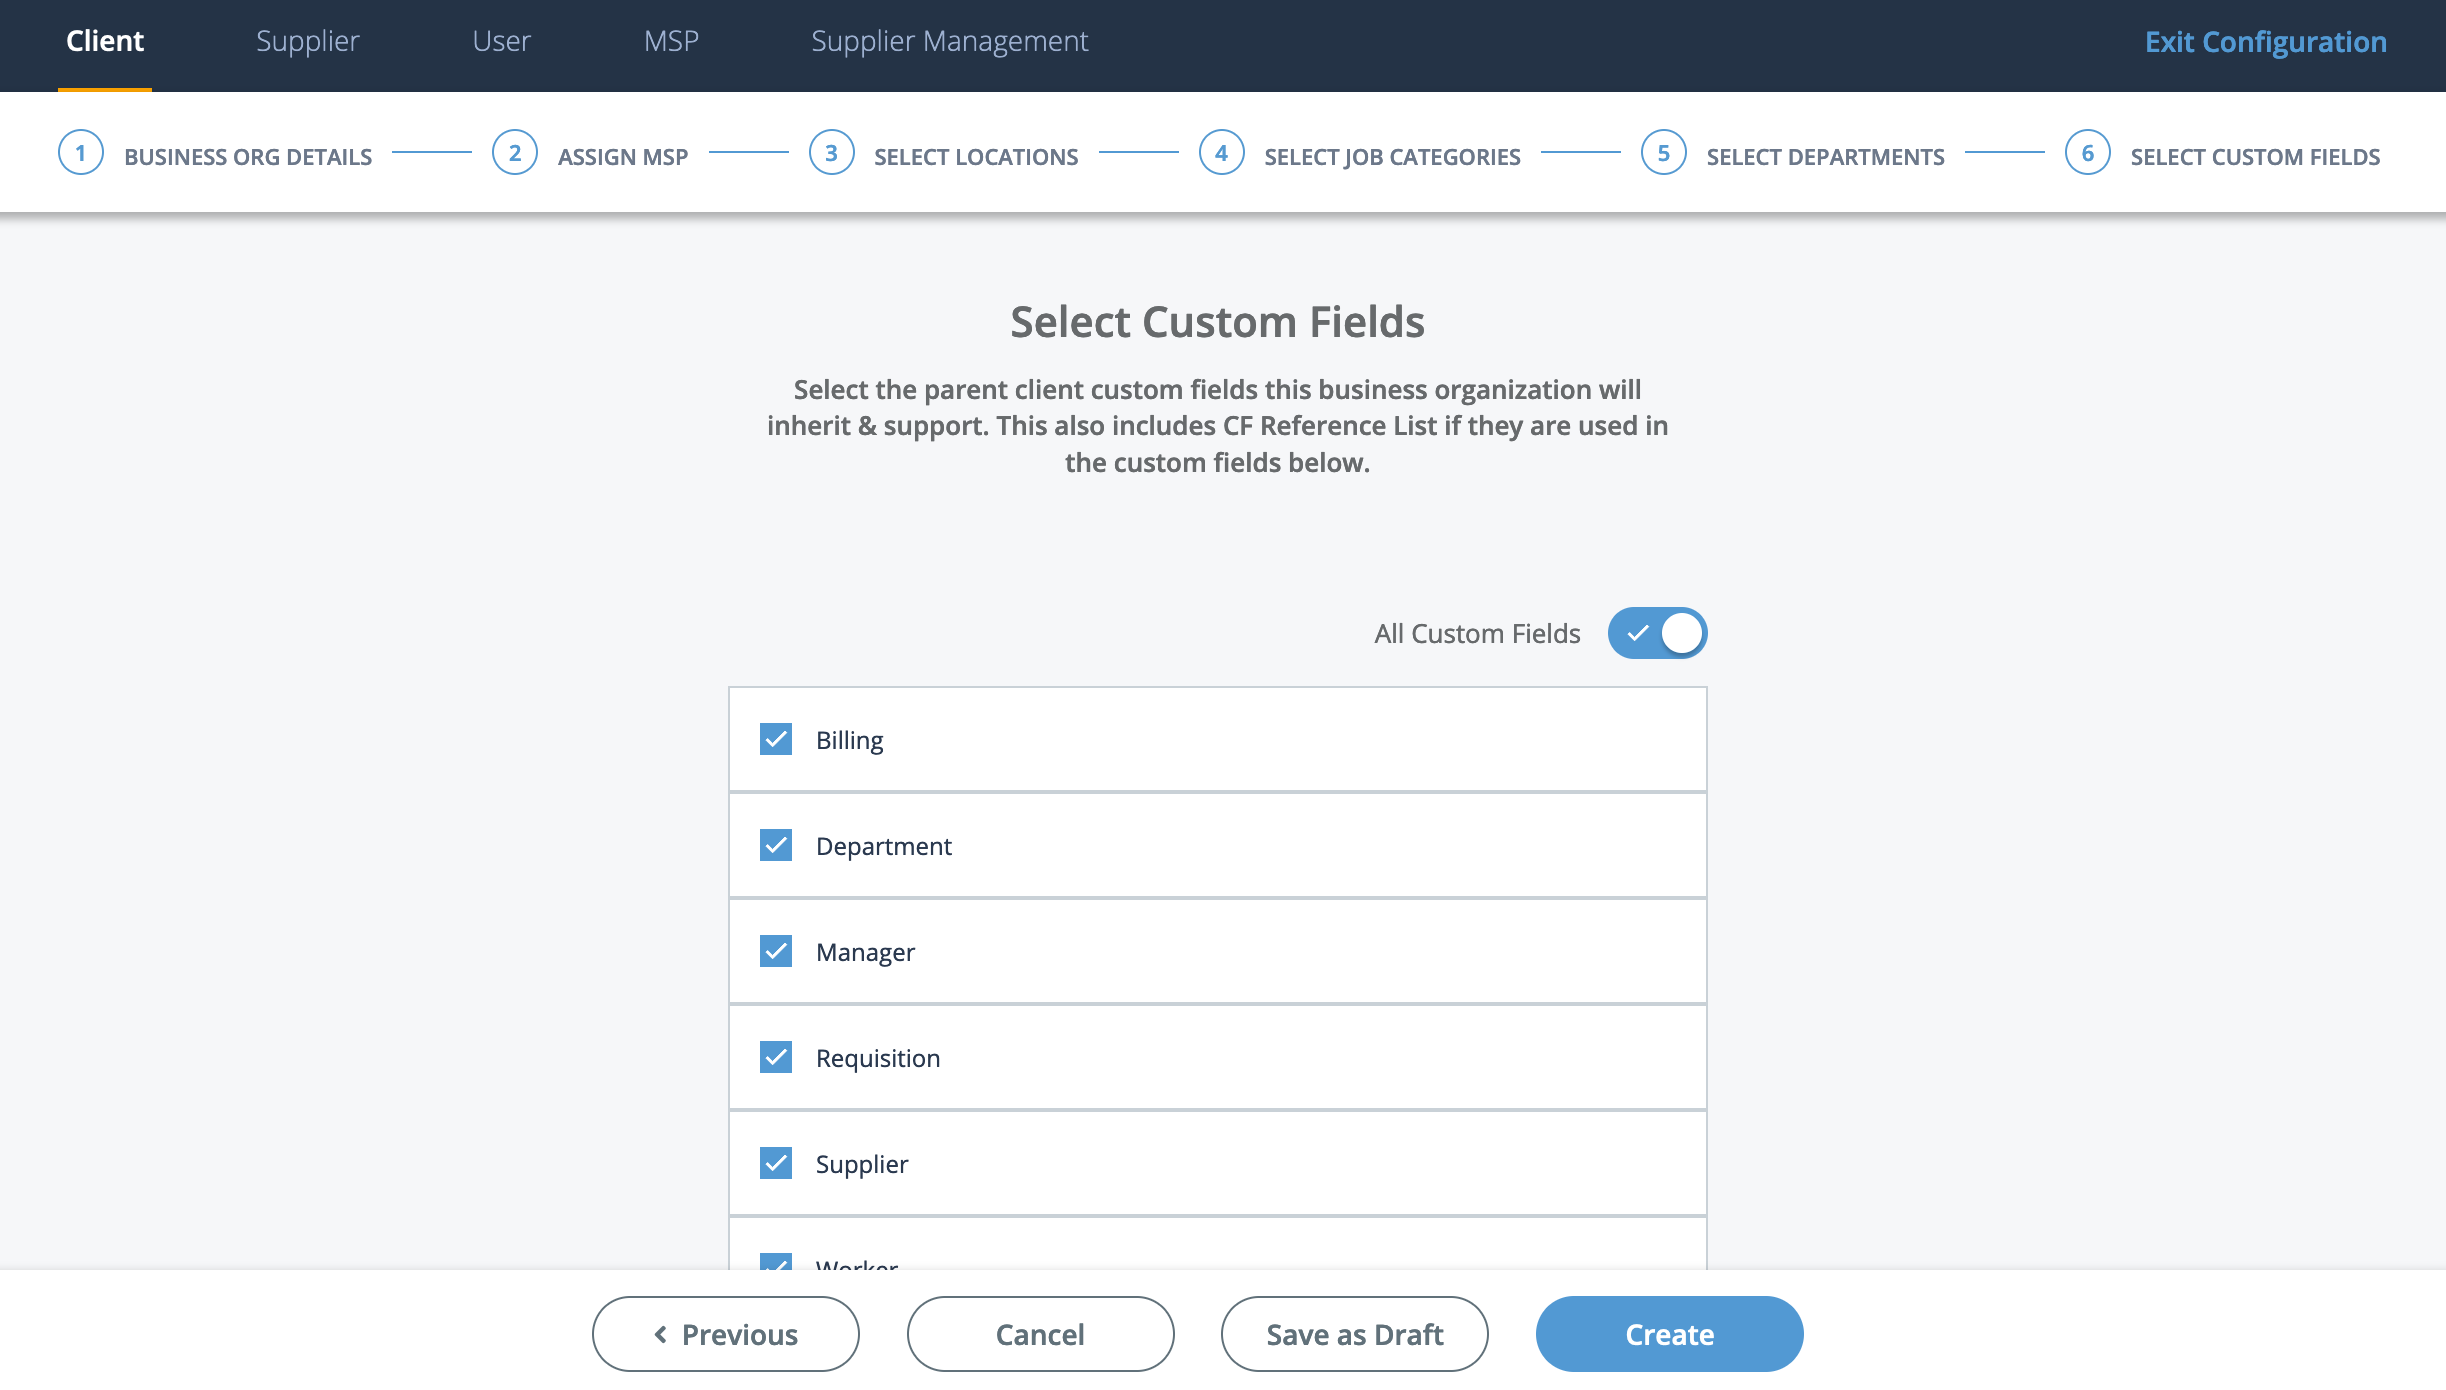
-
Click
 .
.