Set Up Interviews with Candidates
Note:
This topic is only relevant to user accounts
that have permission to set up requests (Vendor On Premises). If you do not have
this permission, the MSP sets up the interview, and you confirm the interview
details after. For more information about confirming details, see Confirm Interview.
When an interview request is configured, you can contact your worker, and confirm a proposed time. You can also withdraw a candidate for any reason for a pending interview.
- Navigate to the Home page in the Supplier view.
-
Click Requisition.
Note:If you are filling a new request, you can access new/open requests in the View section on the Home page. For more information about this section, see Home Page.
-
Use the search functionality to locate the request to fill. For more
information about the search feature, see Searching Through Requisition Data.
Note:To list all requests in all statuses for a client organization, do not configure any parameters and click
 .
. - Click the blue request number in the Req# column for the request to fill.
- On the request page, click Interview.
- In the table, locate the candidate. You can use the First/Prev/<page_number>/Next/Last buttons to toggle the table view.
-
Click
 .
.
-
Review the interview details. You can edit the client manager contact
information by clicking
 .
.
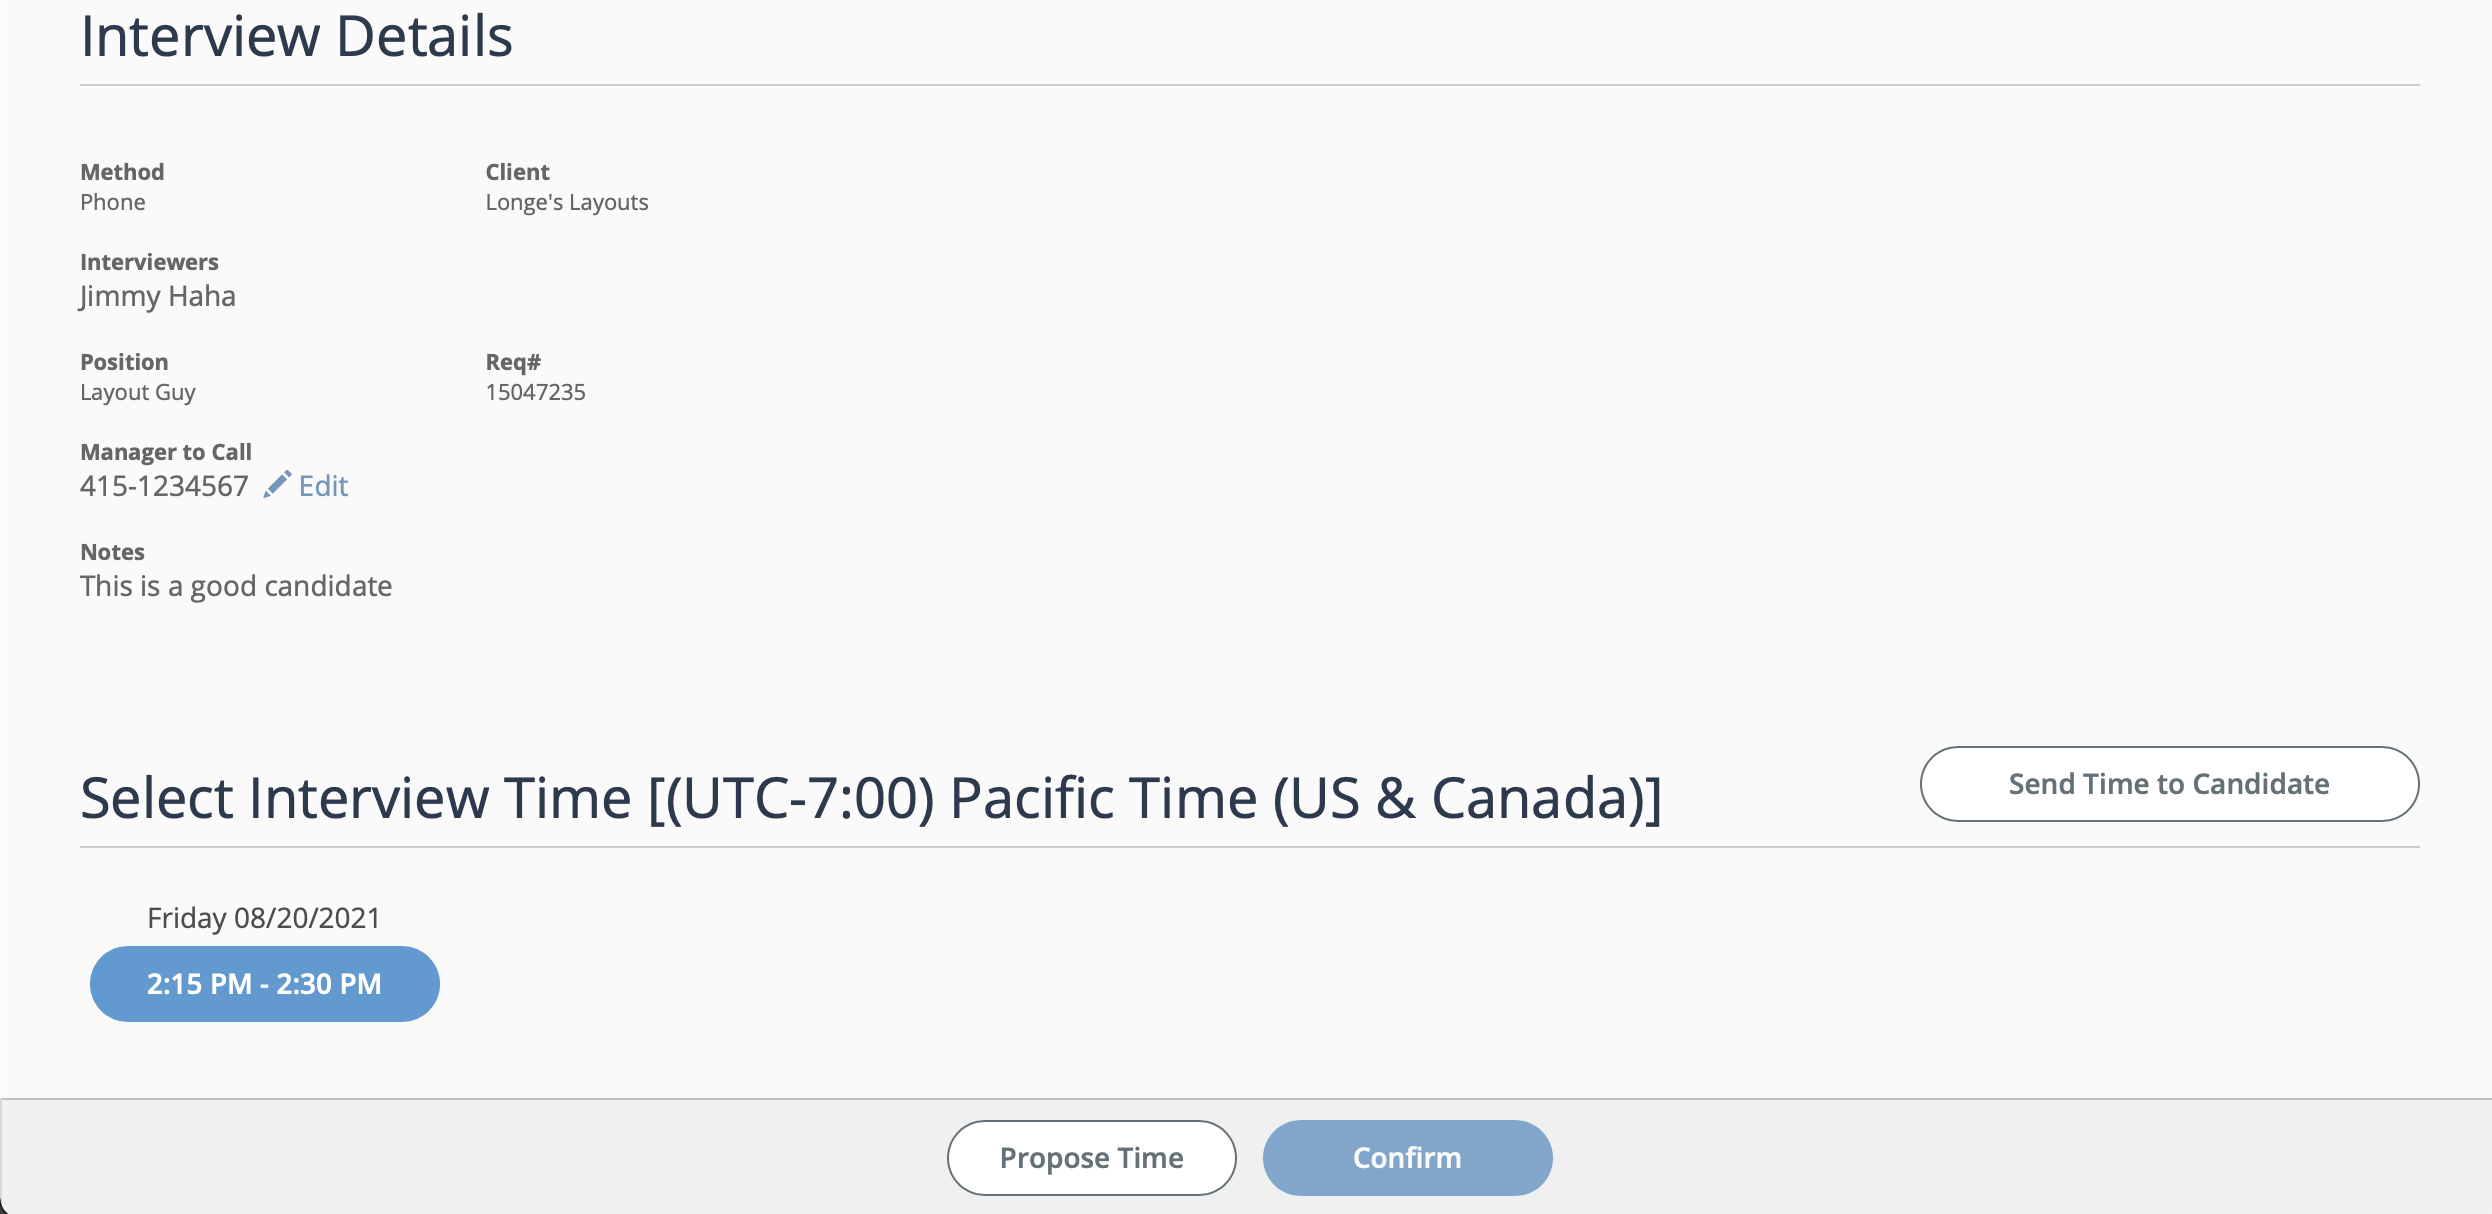
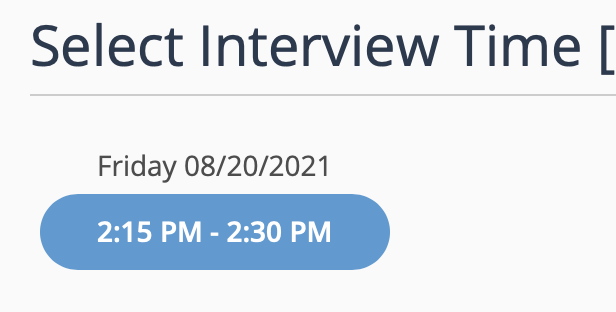
-
Select an interview time by clicking the button with the appropriate
times.
If you need to configure a new interview time, click
 , and in the calendar, select the timespan, and
then click
, and in the calendar, select the timespan, and
then click  . Both the MSP and the client manager are
notified of the time.
. Both the MSP and the client manager are
notified of the time.Proposed times for interviews are managed in the Candidates tab for the request in the MSP view. For more information about candidate interviews, see Candidate Interviews.
-
After you select a time, click
 .
.
-
After confirmation, click
 . The candidate is notified by email.
Alternately, you can complete the following actions in this section:
. The candidate is notified by email.
Alternately, you can complete the following actions in this section:
 - Opens the scheduler calendar. You can
also access this action from the candidates table
(Interview tab).
- Opens the scheduler calendar. You can
also access this action from the candidates table
(Interview tab). - Cancels the interview. You can
also access this action from the candidates table
(Interview tab, then
- Cancels the interview. You can
also access this action from the candidates table
(Interview tab, then  ).Note:These actions can also be completed in the MSP view.