Customize a Template for a Client Location
- Navigate to the Clients page on the Configuration view.
-
Click the link in the NAME column for the client whose
information you want to modify.
The Client Info page appears.
- Select Email Templates on the left navigation menu.
- In the Template Filter area, use the search filters to locate the template to modify.
-
Click
 .
The search result only display templates that you can edit. View templates are read only.
 - For the template that you want to modify, click Edit.
-
For your modified template, use the template type inputs to rename your file,
and define additional information.
 You must at a minimum modify the Template Name and select a client location from the Country drop down.Note:You cannot make a template default for a client organization. Your modified template, once saved, becomes default for that client location. If you do make the modified template active, the application uses the unmodified email template when the internal workflow for that template is triggered.Note:If you have enabled billing approval emails, for the billing notification templates, set the Send As field to HTML. For more information about enabling this functionality, see Email Settings.
 - From the email Sender drop down, select the sender name. You can leave this field blank to use a default value.
- Optionally, enter a static value in the CC field.
-
In the Subject field, modify the pre-populated email
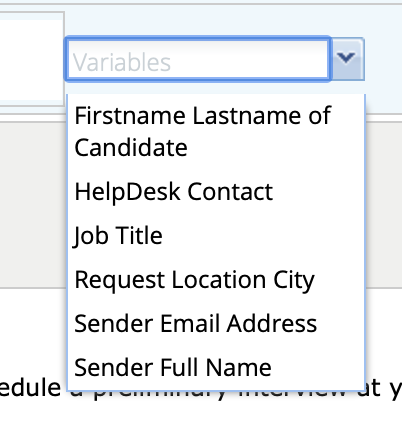
subject line text. You can enter custom text, and insert a variable using the
Variables drop down.
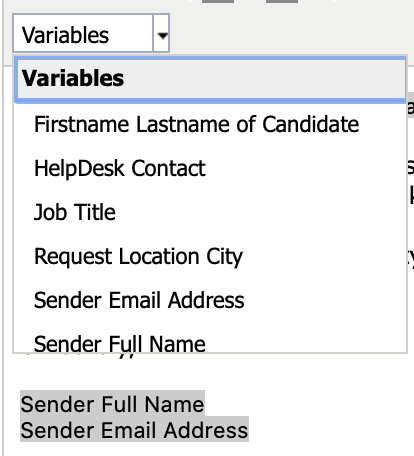
The Variables drop down list contains predetermined values applicable to the email template. Variables appear in the editor as gray highlighted text.

-
In the email body field, modify the text as needed. You can use the toolbar to
format the text and add images.
 You can also insert variables from a list of predetermined values applicable to the email template body.
-
Click
 .
.