Add New Documents
Documents can be added for a supplier can be done for supplier onboarding, or to require a supplier provide some information after the supplier is already active. The Supplier Onboarding module is used to manage documents as they are required by different business entities. For more information about the onboarding module, see Supplier Onboarding.
- Navigate to the Configuration page in the MSP view.
-
Depending on the level you adding the contract at, navigate to either:
- - custom document
- - master document
-
Click
 .
.
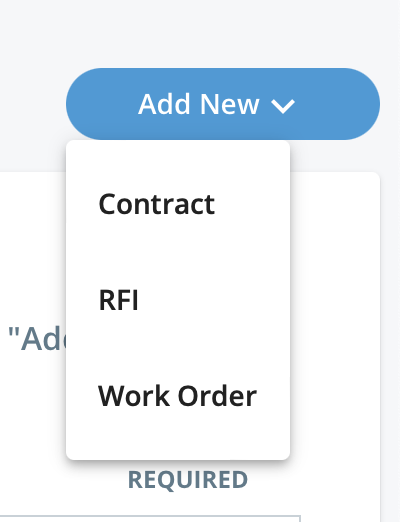
-
From the drop down, select the type of document to create.
-
On the Add New Document page, add document details in
the Document Information section, configure the
following:
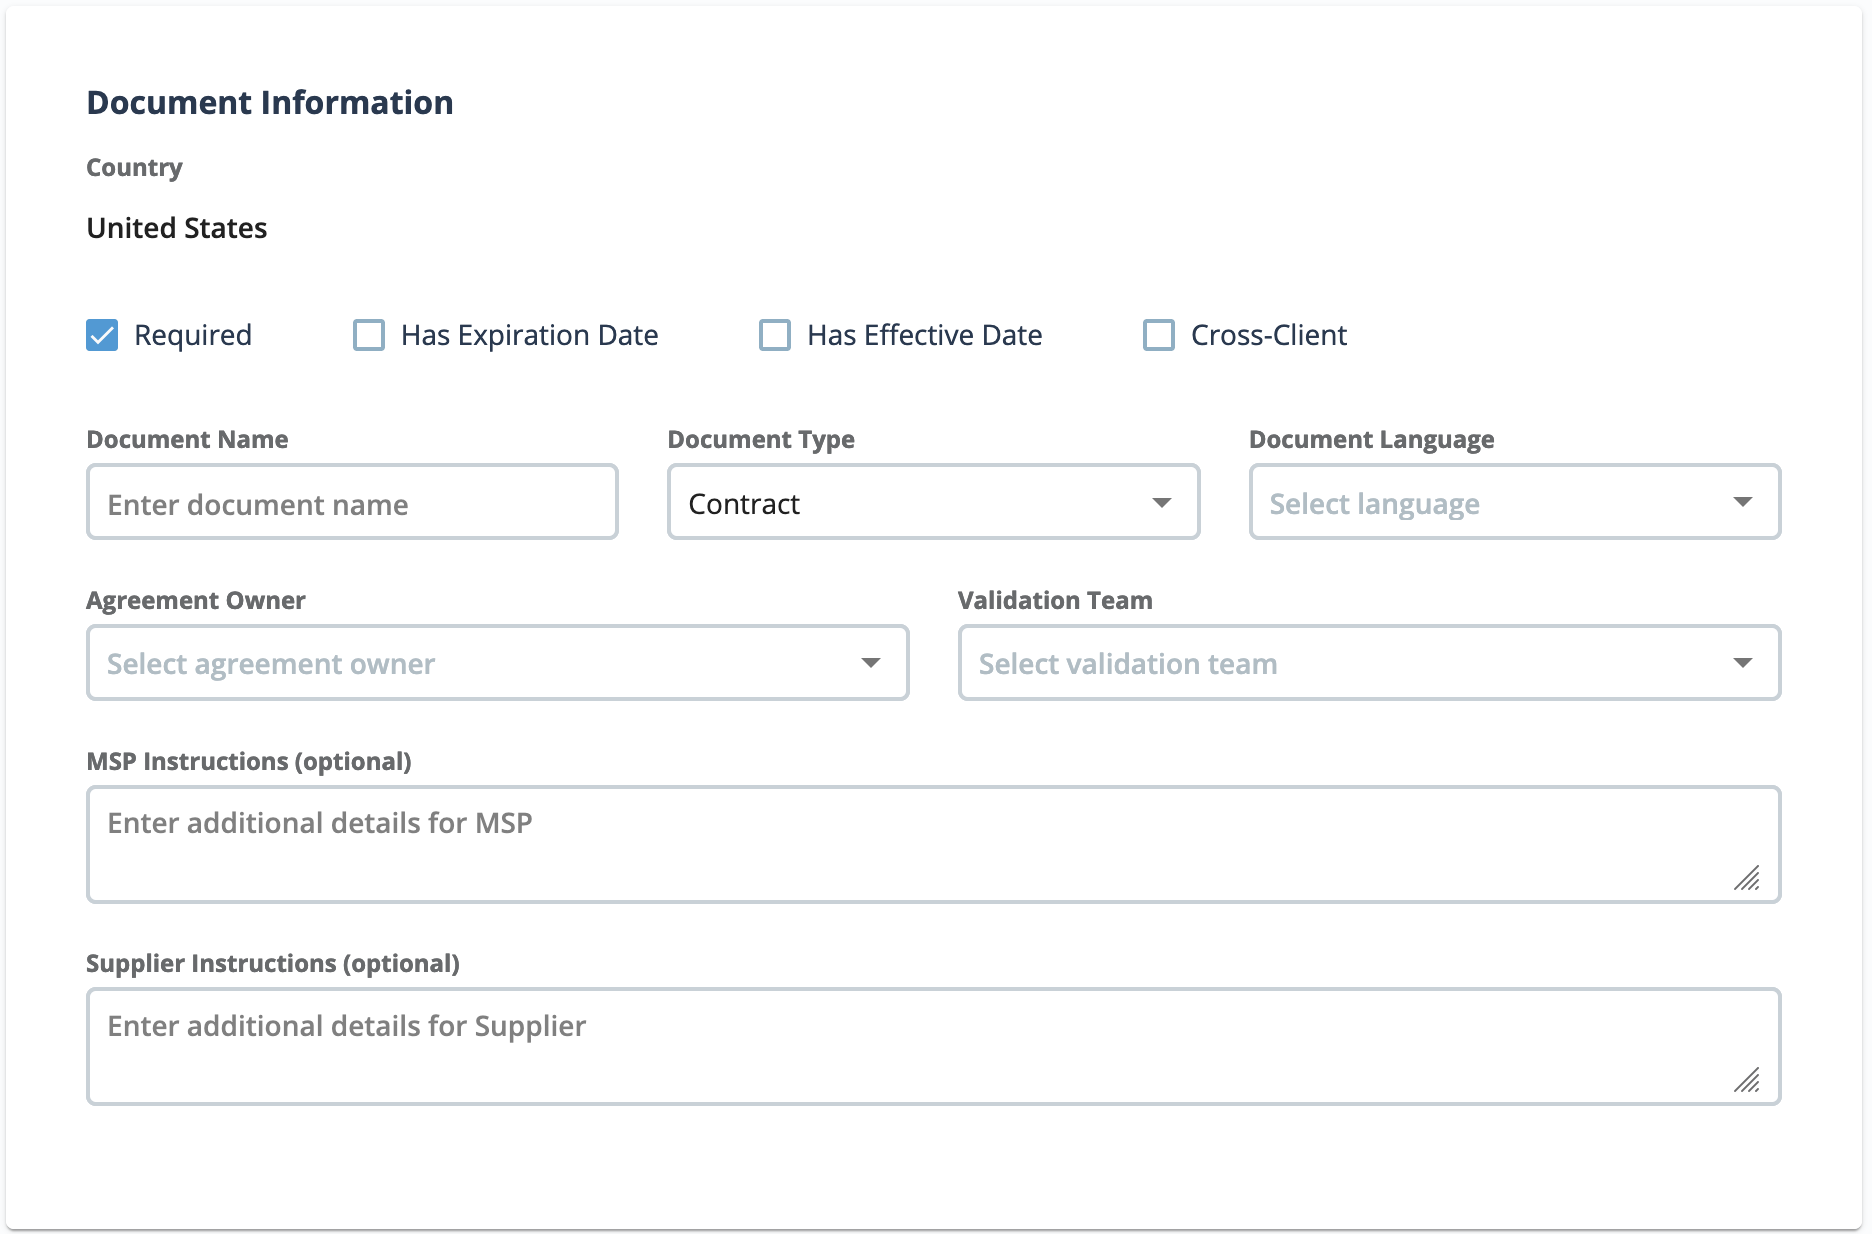
- Required - Specifies that the document is required in the supplier RFI packet.
- Has Expiration Date - Indicates that the document has an expiration date that is added to the document after it is sent to the supplier.
- Has Effective Date - Indicates that the document has an effective date that is added to the document after it is sent to the supplier.
- Cross-Client - Specifies that the same supplier document applies to
multiple client organizations within the same MSP
organization.Note:When a document has this option selected, the document appears for all client organizations in the supplier's country. The document also has the same status for all clients in that supplier country.
- Document Name - Free text field. Add the name of the document.
- Document Type - From the drop down, select the type of document. The values in this list are default, and cannot be modified.
- Document Language - From the drop down, select the language of the
document. This value is added after the supplier submits the
document. This field is informational only. It does not translate a
document to a desired language.Note:There can be several versions of a document in different languages
- Agreement Owner - From the drop down, select the contract owner (Client or MSP).
- Validation Team - From the drop down, select the team responsible for validating the document in the onboarding process. See Document Validation Configuration.
- MSP Details - Free text field. Enter any additional details or notes for the MSP reviewing the document. MSP instructions are not visible to the supplier.
- Supplier Instructions - Free text field. Enter any additional details or notes for the supplier completing the document.
-
In the Service Types section, select the application
service types for the contract. See Supported Requisition Types.
Note:At least one service type is required for a document.
-
In the Document Setup section, select one the following
options:
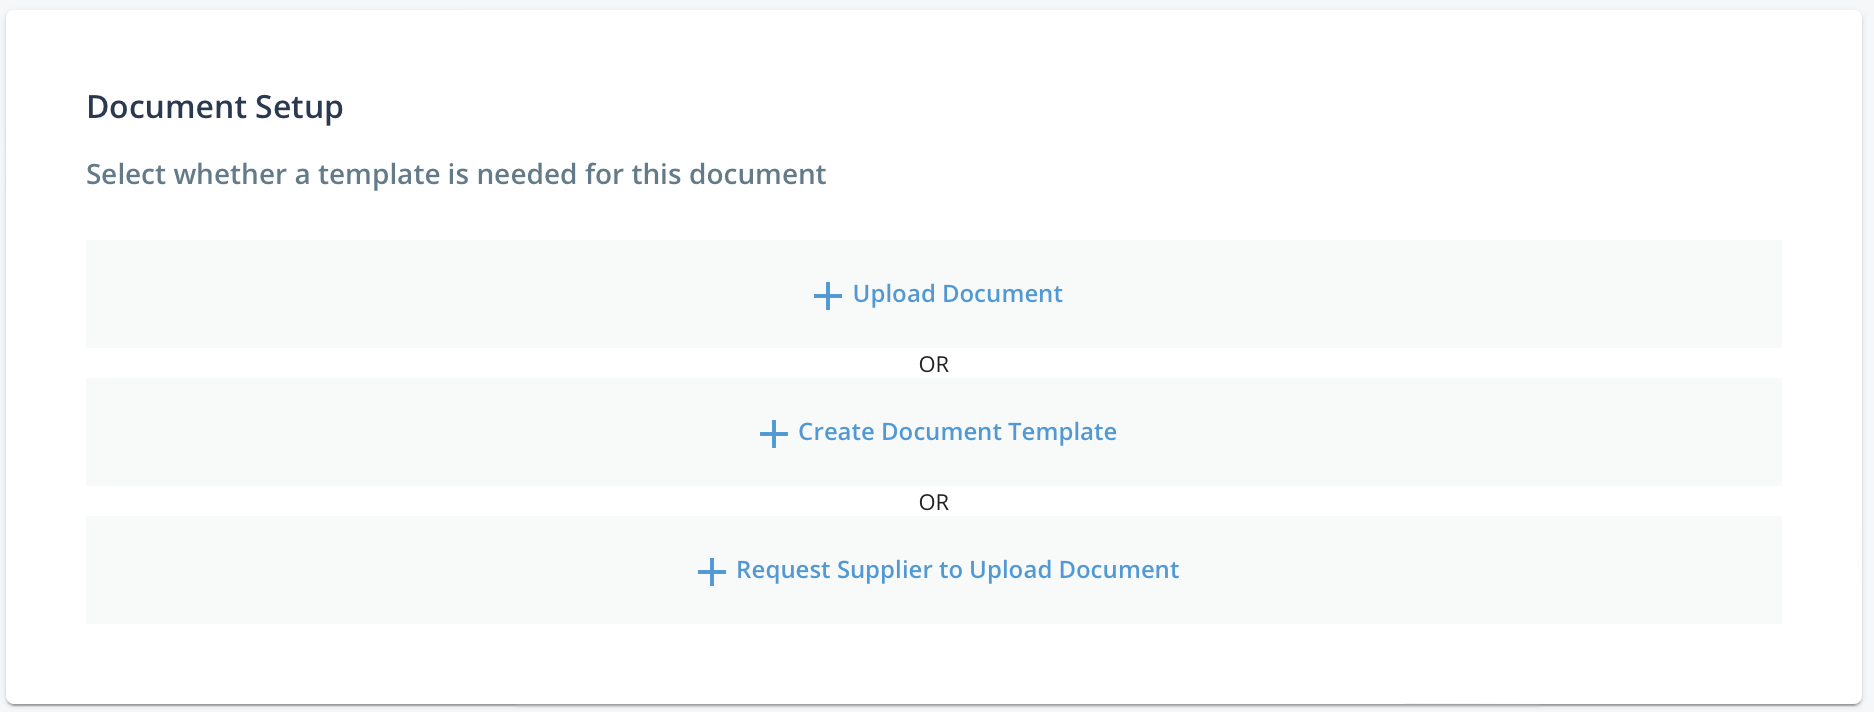
- Upload Document - Use this option to upload a file for the document definition. Click to open a browse or drag and drop popup. Click Browse to open your file explorer to select and upload a file, or drag the file to the popup. The file appears with additional configuration option. See step 8.
- Create Document Template - See Document Templates.
- Request Supplier to Upload Document - Select this option to require the supplier to upload the necessary document file during the onboarding. This option is not available if you are routing the document for electronic signature.
-
If you upload a new document or create a document template, additionally,
configure the following:
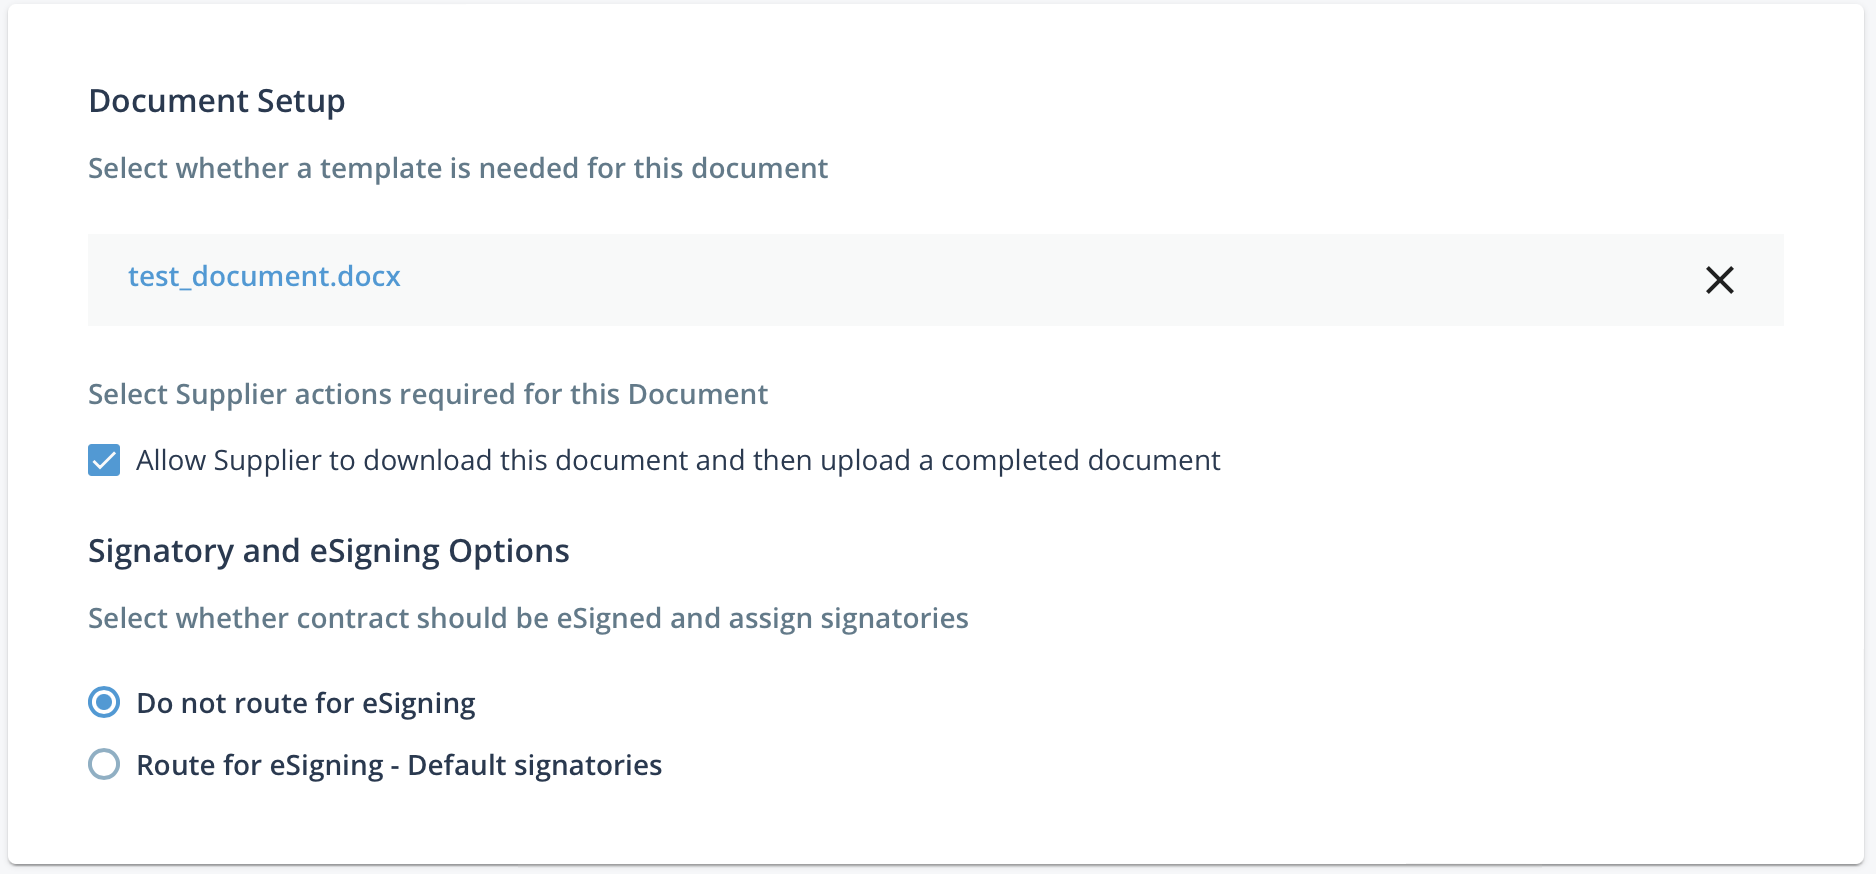
- Allow Supplier to download this document and then upload a completed document - Allows supplier/vendor to download and re upload a file. If this option is deselected, the document is only available for download and review by the supplier. This option can be useful in case where amendments to a contract or agreement need to be tracked within the onboarding process.
- Signatory and eSigning Options - Activates the eSigning
functionality for the document. You can configure the following:
- Do not route for eSigning - Document must be either reviewed, or downloaded, reviewed, signed, and uploaded. This option is used for all documents that are not electronically signed.
- Route for eSigning - Routes the document to the Primary Supplier Contact. During document configuration at the MSP organization level, you can only assign the Primary Supplier Contact. If you need to assign a different signatory for the document, navigate to the document at the supplier level () and select the Other option.
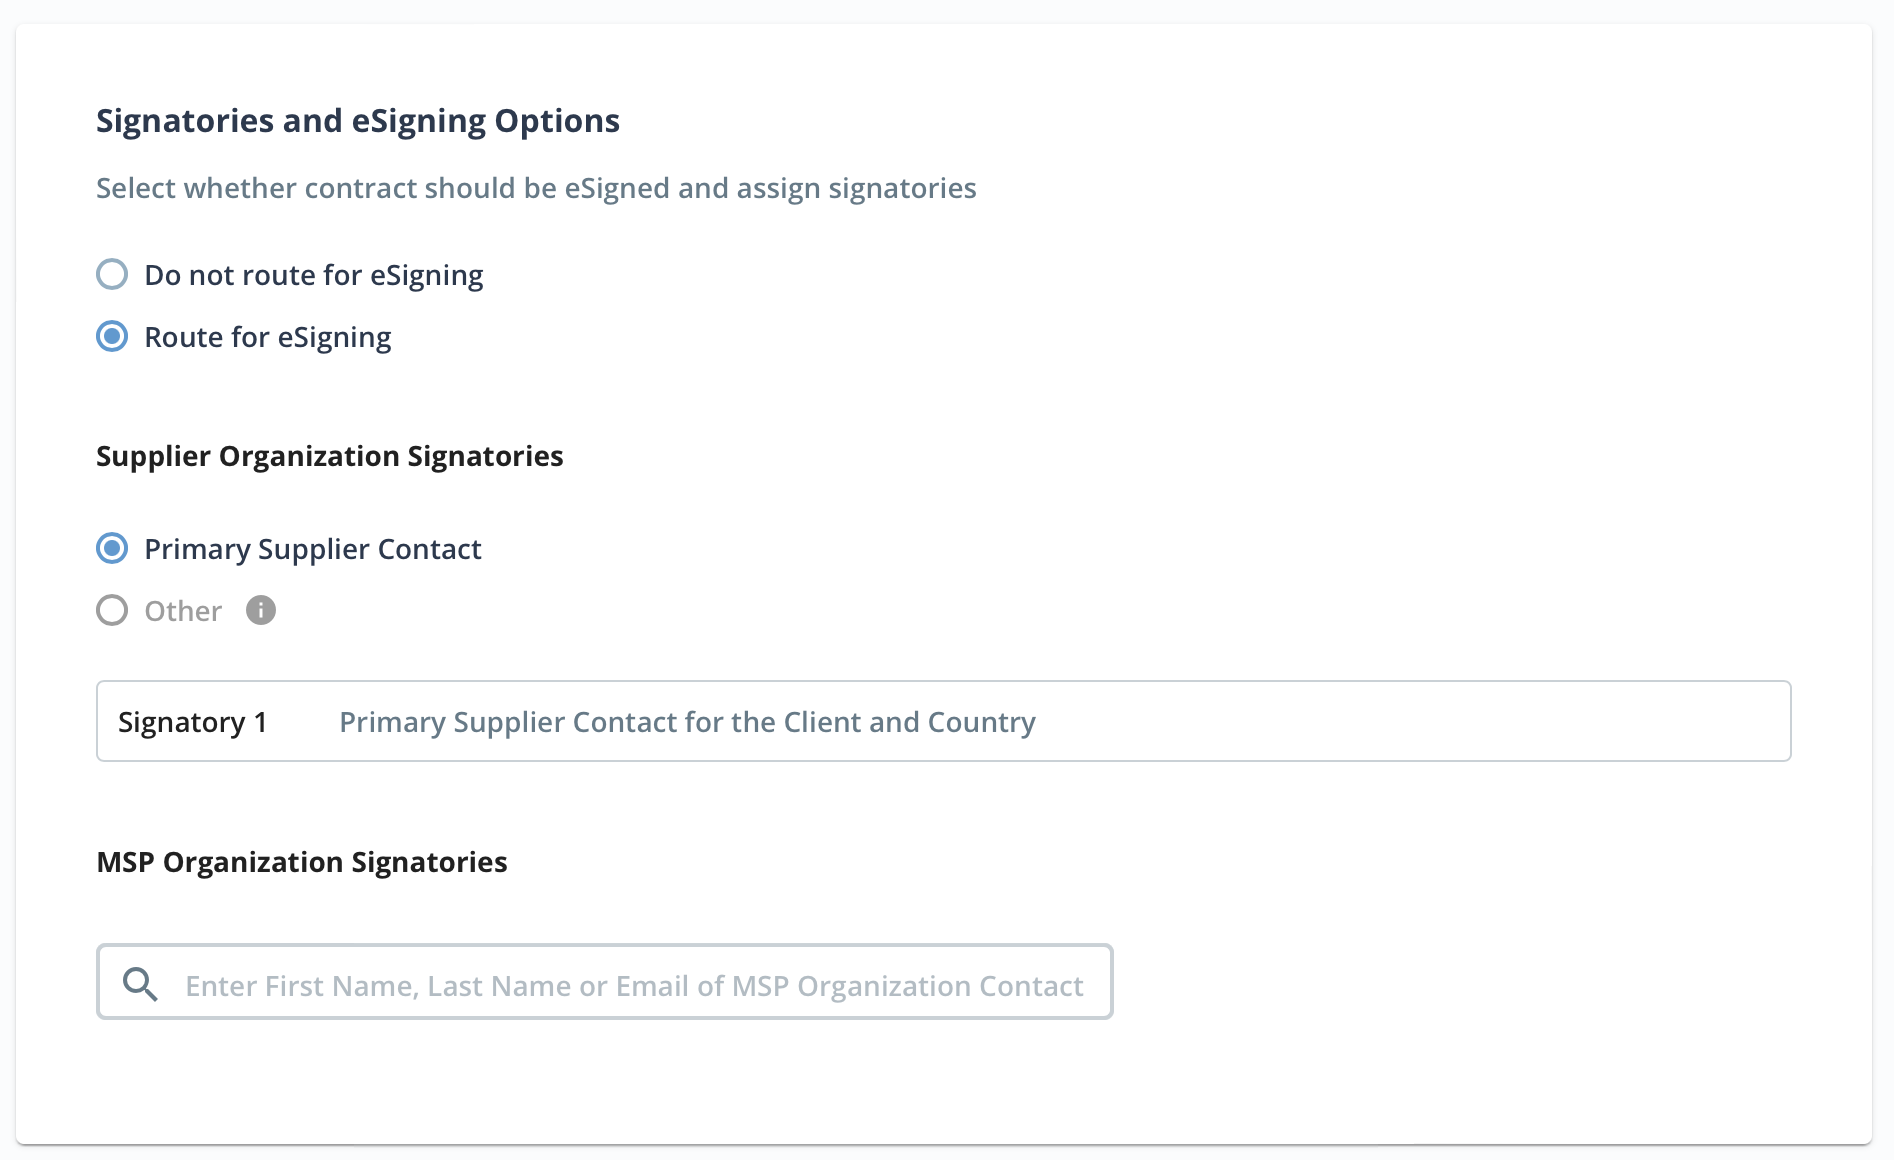
The Search MSP Organization member search field allows you to locate an MSP user to route the document to. You can add additional signatories by searching for more names and selecting them from the list. To configure a name that does not appear in the suggestions, click Enter a New One. The Contact name and email address are required.
-
Click
 .
.