Create Supplier Organization
The VMS application uses a setup wizard that takes you through the creation steps. All required fields are marked with a red asterisk. Optional information can be entered later in the supplier's General Information page. See Supplier General Information.
After setup, the supplier organization is required to complete the system onboarding process and have their service type contracts activated in the system.Note:
You can navigate between the wizard
pages by clicking  to advance, or
  to
go back to a previous page.
to
go back to a previous page.
- Navigate to the Configuration view in the MSP view.
- Click the Supplier tab in the top menu.
-
Click
 .
.
-
On the wizard Supplier Details (page one) page, enter
the following information:

- Supplier Name - Enter the supplier organization's name as it will appear in the system.
- Legal Name - Enter the supplier organization's legal name. This can be different from the supplier organization's 'Supplier Name'.
- Tax ID - Optionally, enter the supplier organization's tax identifier.
-
Click .
Note:If the system detects similarities (or identical names) in the information that you enter, on clicking, you are warned before proceeding. A
'Duplicates Found' table appears with possible duplicate entries. You can
click any of the blue link text in the table to review the duplicate
supplier information.
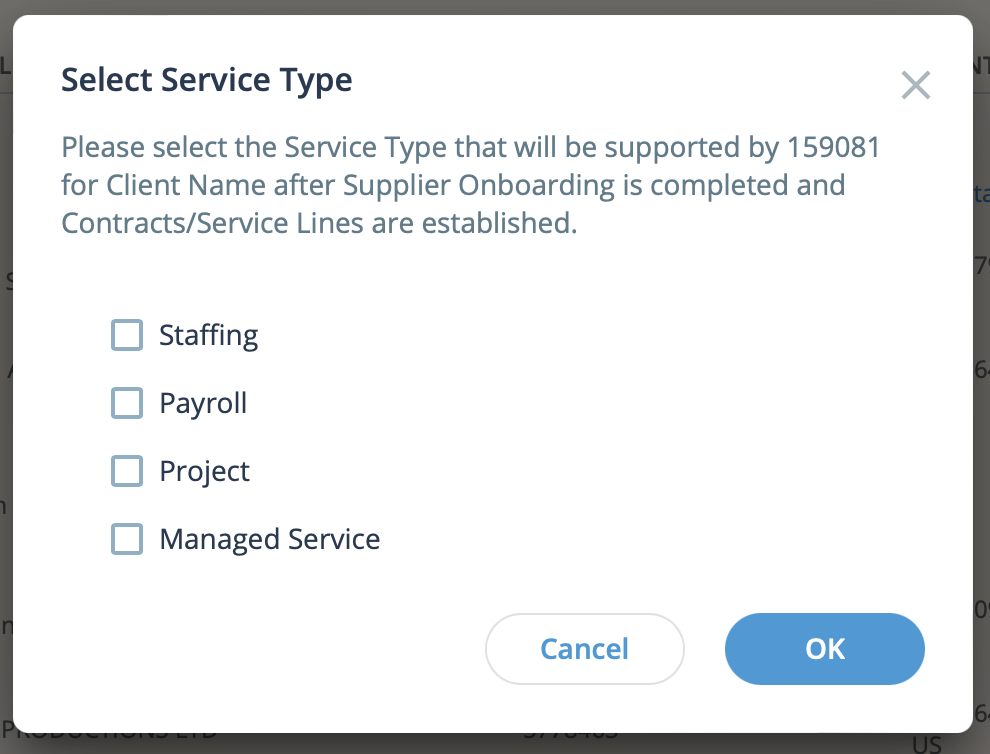
If you do select an existing supplier organization to add for the client organization, use the pop up to select the service lines that the existing supplier will provide for the client.
-
On the wizard Service Types (page 2) page, select the
check boxes for the service types that the supplier organization will provide.
This does not activate the service type. Each service must be set up in a
separate process. For more information about setting up service types for a
supplier organization, see Supplier Agreements.
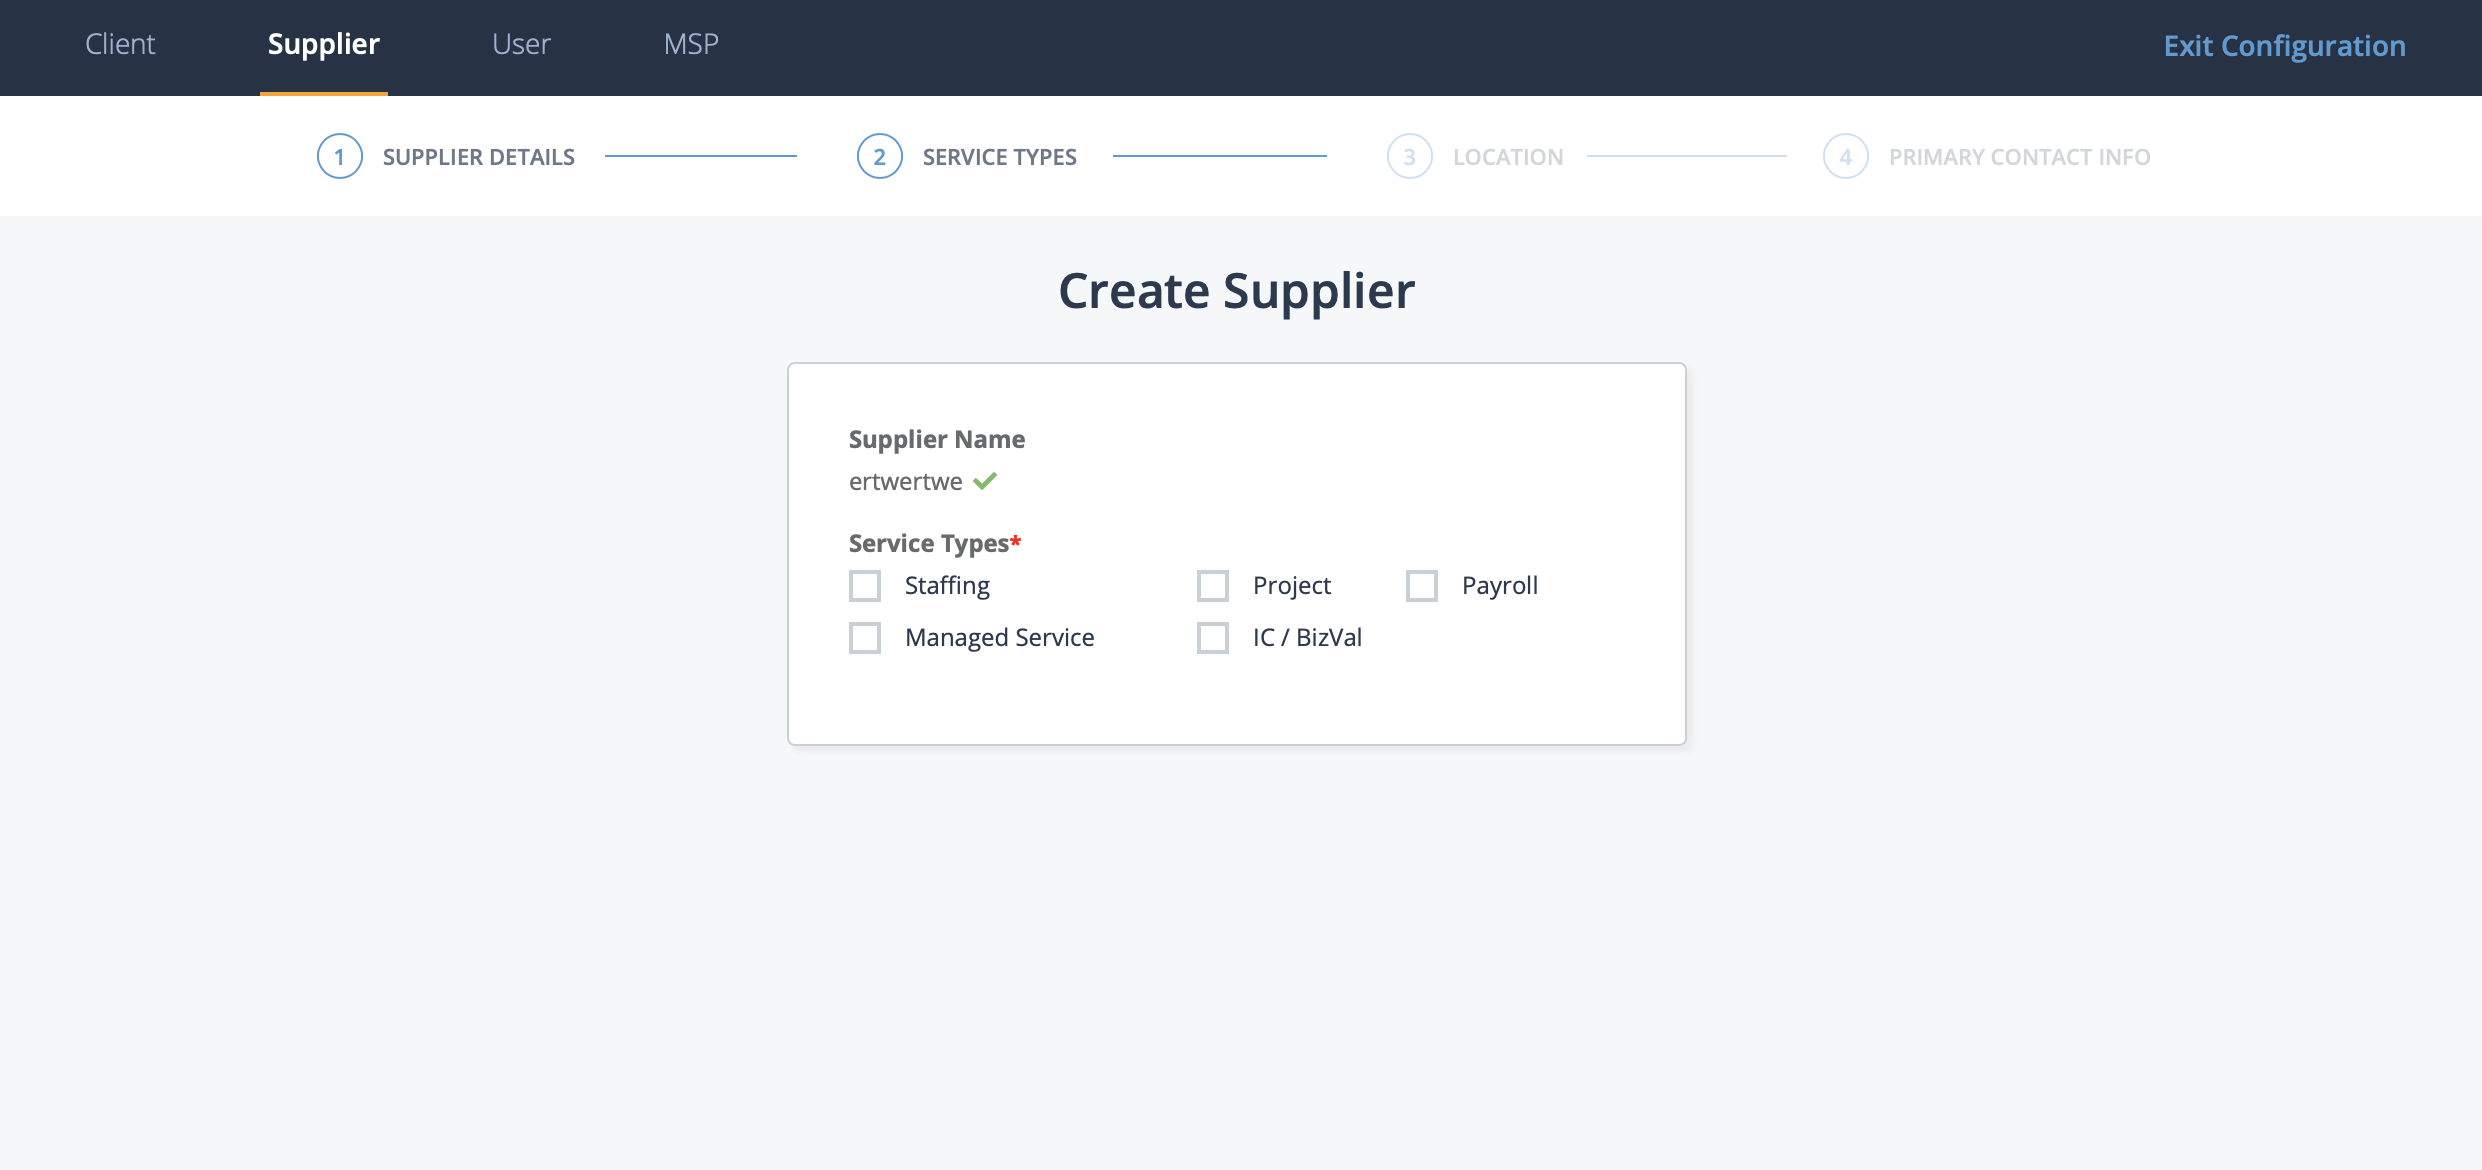 Service types must also be set up in the client organization's configuration. For more information about service types in the client configuration, see Client Settings.Note:At least one service type must be selected.
 -
Click
-
On the wizard Location (page 3) page, enter the
following information:
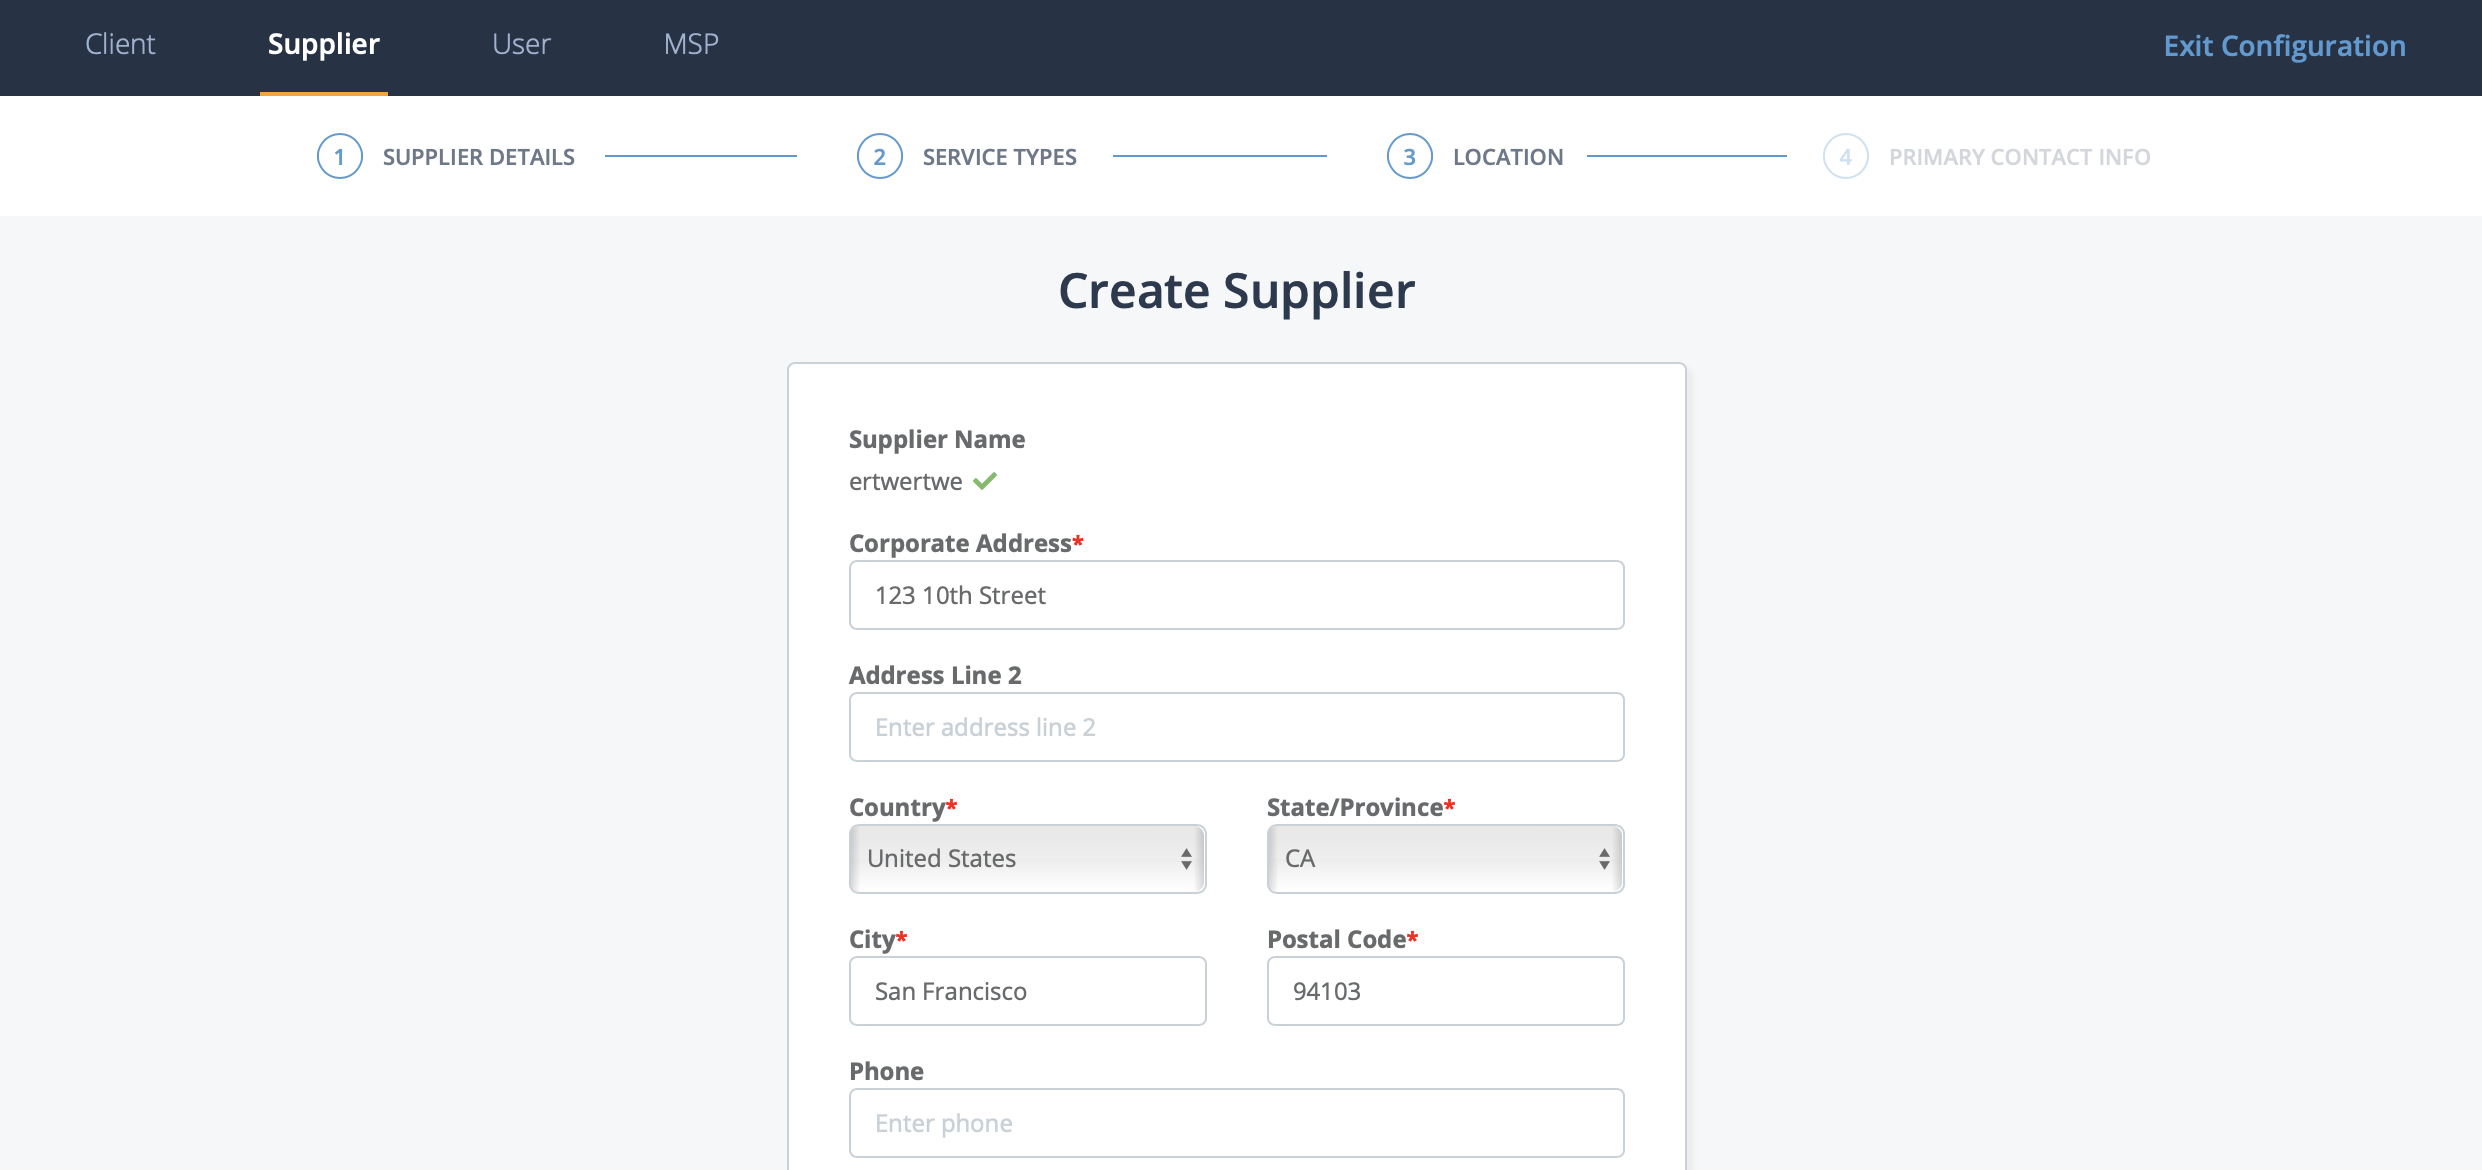
- Corporate Address
- Address Line 2
- Country
- State/Province
- City
- Postal Code
- Phone
- URL
Note:Entering a value in the Corporate Address field prompts the system to suggest address information based on the input. If an address is correct, click it from the suggestions and the rest of the required fields on the page populate with the found information. -
Click .
-
On the Primary Contact Info (page 4) page, select value
for the following fields:

- Country Registration - the location where the supplier organization is registered. This is where a supplier organization provides services.
- Preferred Language - The preferred language of the supplier organization.
- If you are creating a new primary contact user for the supplier organization, select the I want to create Primary Contact now check box. The Primary Contact supplier user is not required for supplier organization creation, however, this user is required to complete the supplier onboarding. This user can be created later. See Create a Supplier Primary Contact User.
-
Click
 .
.