Add a Routing for a Workflow
- Navigate to the Client page on the Configuration view.
- In the top menu, click Configuration. The Client Info view for the client organization displays.
- Navigate to .
- Click the workflow name to add the routing to.
-
Click
 .
.
-
Using the buttons at the top of the section, select from the following:
- After prior routing - Approval notification is sent after approval from the previous routing is complete.
- Same time as prior routing - Approval notification is sent at the same
time as the routing defined just before in the list.
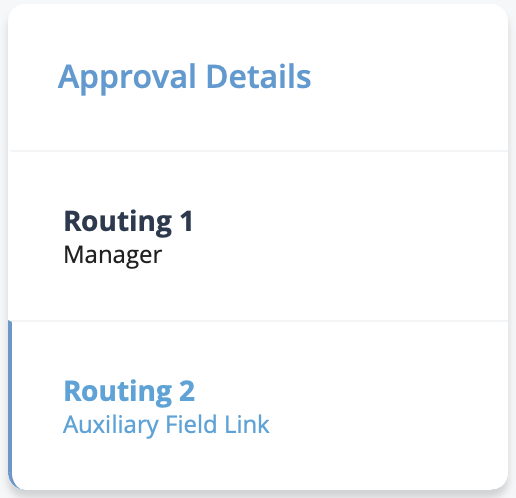
Routings added to a workflow are used sequentially. You can view the order that each routing is applied by clicking the workflow name, and then viewing the Approval Details panel.
-
From the Routing Method drop down, select the method
type. Select from the following:
- Manager - For more information about these settings, see Manager Routing Settings.
- Manager Chain - For more information about these settings, see Manager Chain Routing Settings.
- Department - For more information about these settings, see Department Routing Settings.
- Field Link - For more information about these settings, see Field Link Routing Settings.
- Specific Person - For more information about these settings, see Specific Person Routing Settings.
- Auxiliary Field Link - For more information about these settings, see
Auxiliary Field Link Routing Settings.Note:A client manager user must have the Approver permission associated with their user account to approve workflow items. For more information about this permission, see Client User Permissions.
-
Click
 .
The routing is added for all workflows that are assigned to that module type. If you add a routing to a workflow, it only applies to new actions for that type. For example, of you add a routing for an engagement workflow, then that routing only applies to new engagements.
.
The routing is added for all workflows that are assigned to that module type. If you add a routing to a workflow, it only applies to new actions for that type. For example, of you add a routing for an engagement workflow, then that routing only applies to new engagements.