Modify the Country Question List
All active questions that you configure at this level are added to a questionnaire and sent to a user as of a configured effective date. If you do not want to add a question to a questionnaire, disable the Active flag for the question. You cannot disable an entire questionnaire. For more information about managing questionnaires, see Project Business Validation Screening.
- Navigate to the Configuration view in the MSP view.
- From the Countries list, click the country name (blue text).
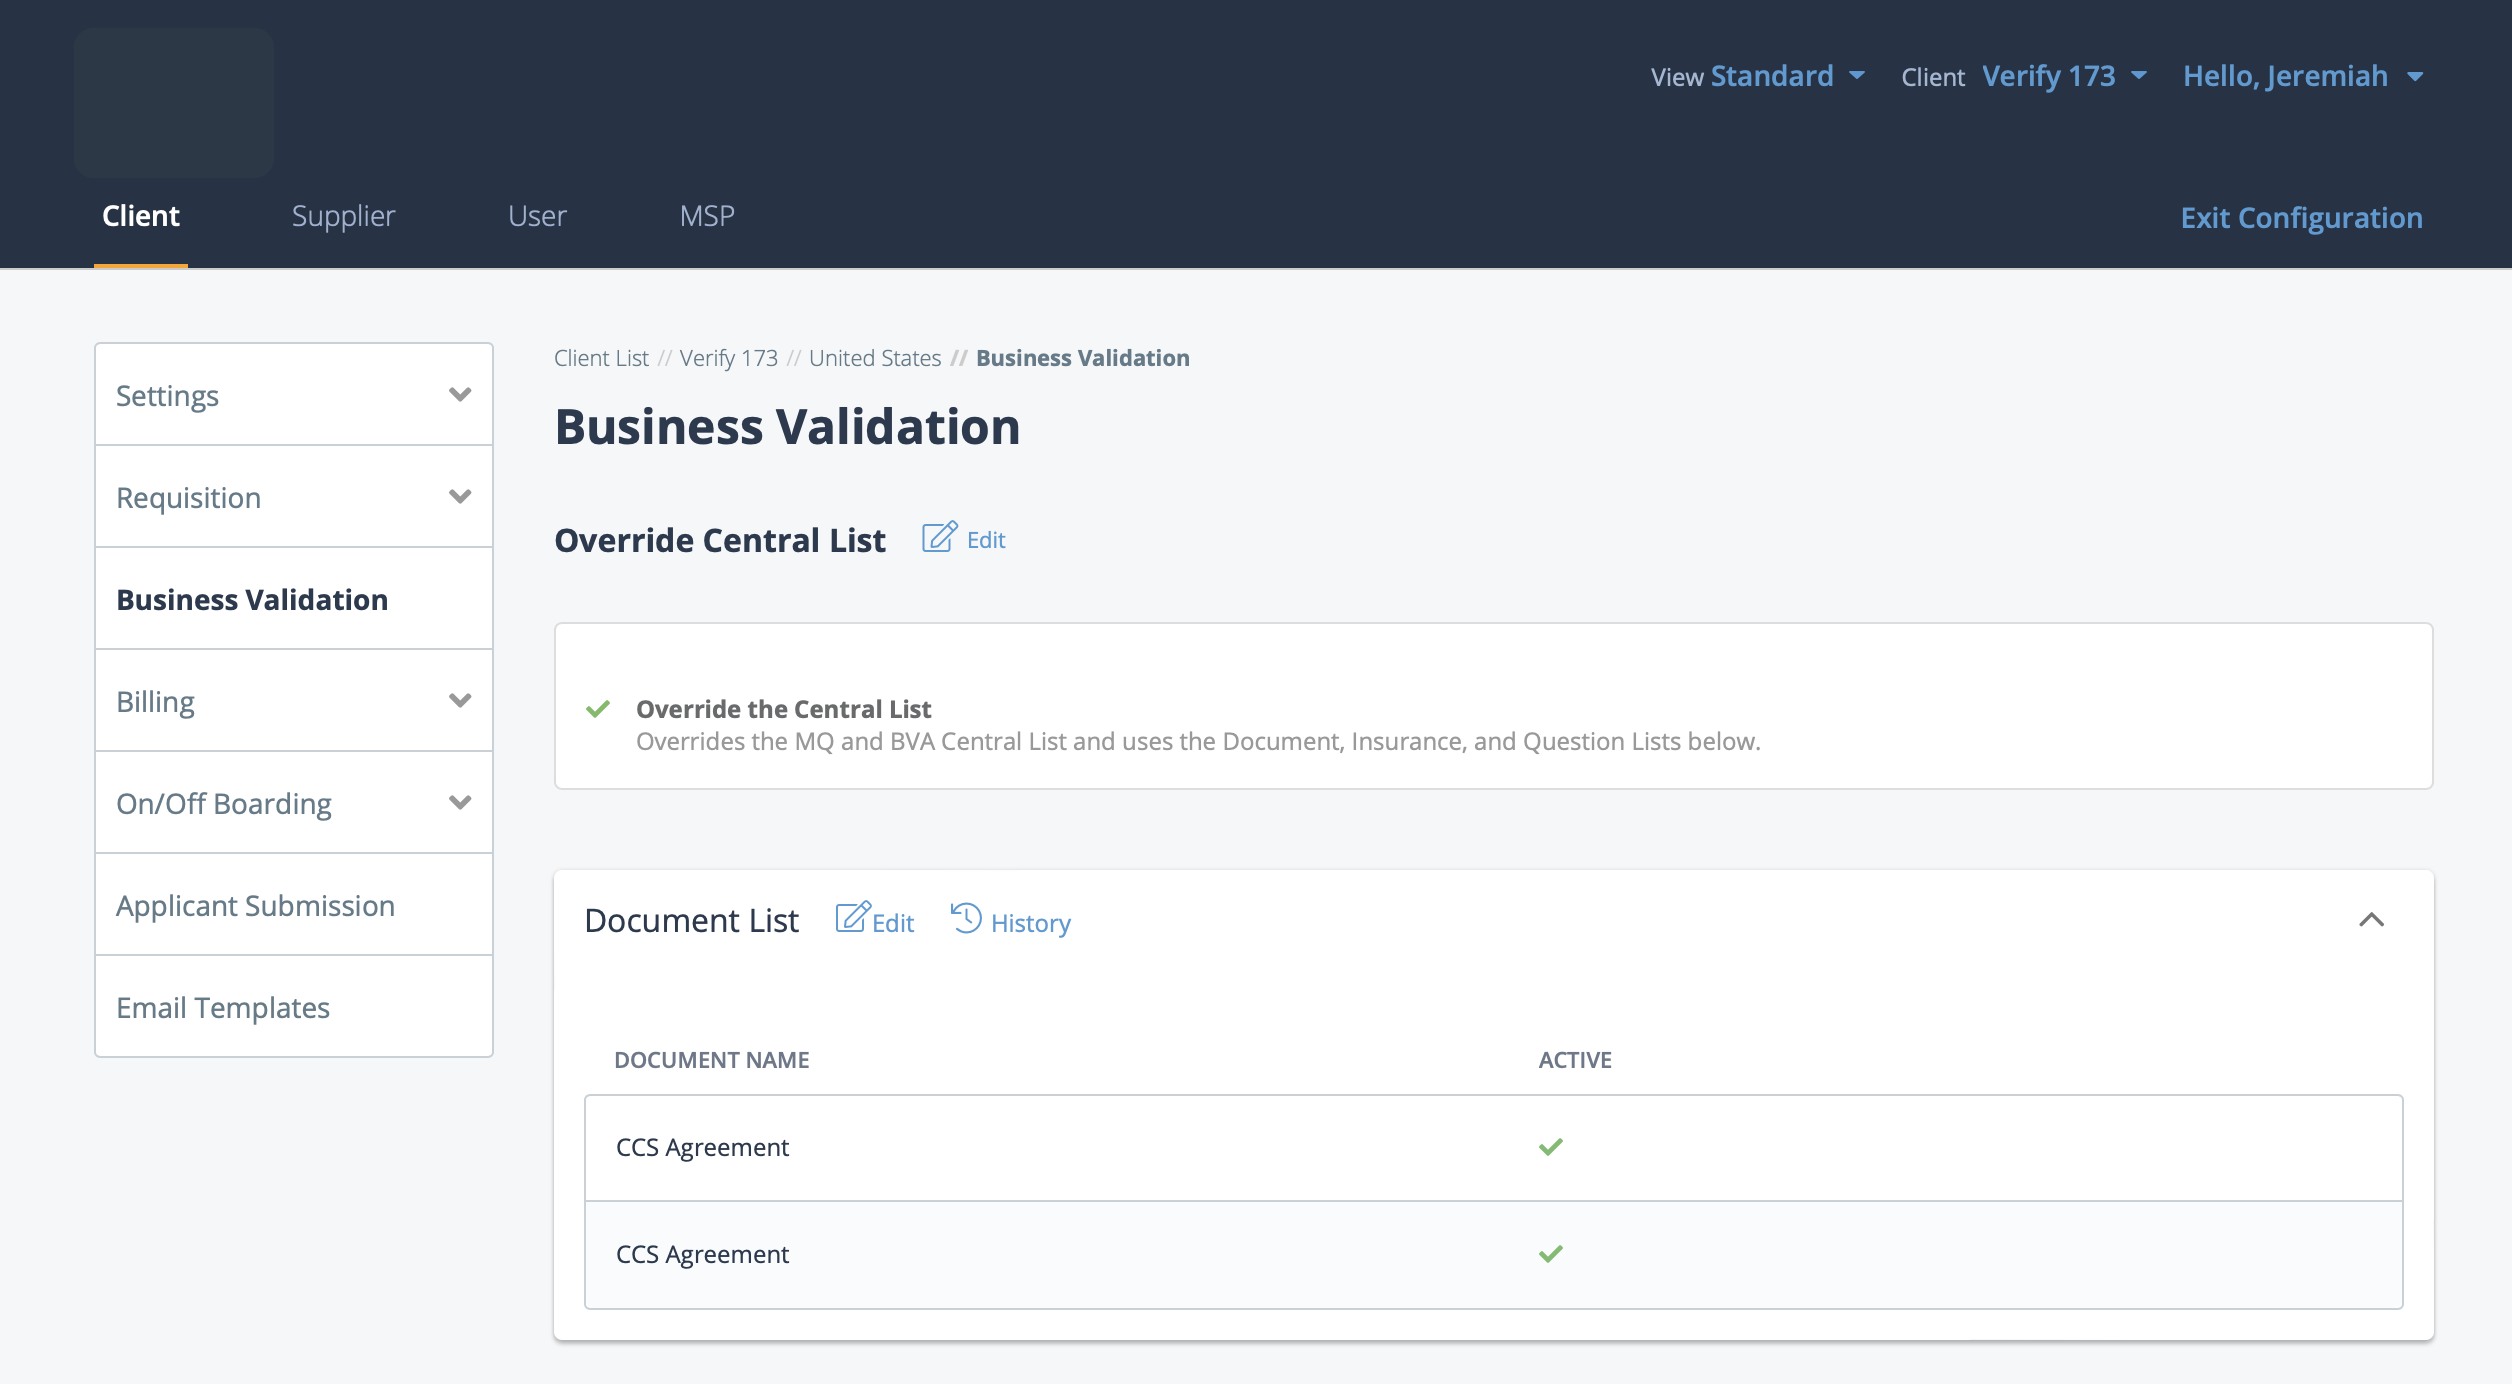
- In the left menu, click Business Validation.
-
Optional: Click Edit, select the Override the Central List
check box, and click Save.
Note:This setting might already be enabled for a client country location.
-
Expand a list section.
-
For sections with existing content, click
 . For sections without content, click +
<list_name> (blue text).
. For sections without content, click +
<list_name> (blue text).
-
Click
 .
.
- In the Document Name field, enter the name of the required document.
-
To enable the document in the list, select the Active
check box.
Note:The document is not required until it is made active.
-
Click
 .
.
- Navigate to the Configuration view in the MSP view.
- From the Countries list, click the country name (blue text).
- In the left menu, click Business Validation.
-
Optional: Click Edit, select the Override the Central List
check box, and click Save.
Note:This setting might already be enabled for a client country location.
-
For sections with existing content, click . For sections without content, click +
Question List (blue text).
The Add Question configuration page opens.

- In the Question text field, enter the question text. This is the text that the contractor or client manager sees on the questionnaire.
- Select the Required check box to make an answer of the question required.
-
Select the Active check box to add the question to the
questionnaire.
Note:The question does not appear on the list until it is made 'Active'.
-
From the Response Type options, select the type of
answer that the user must enter for the question.
Note:You can only select one answer type. The system validates the user's input.
Input Type Description Single Select
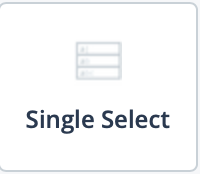
Select this option to configure choices for a user to select. Use the Response List configuration section at the bottom of the page to configure answers. 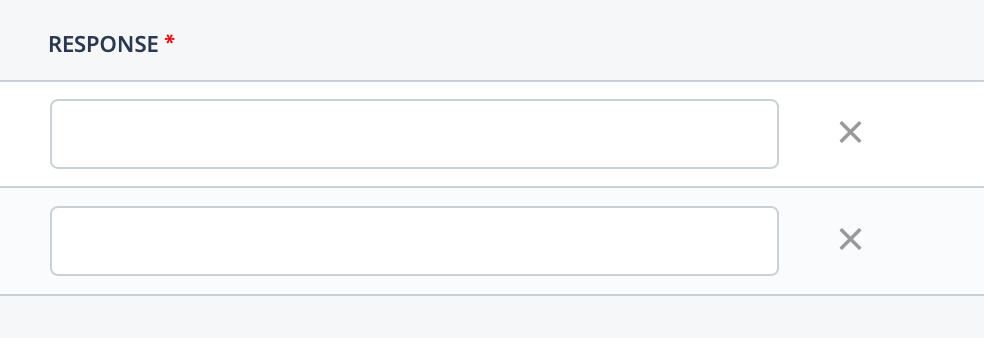
Click
to configure
additional answers.Radio 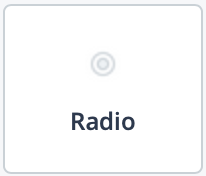
Adds radio buttons to make answer selections. If you select this option, use the Response List configuration section at the bottom of the page to configure button content.
 For radio buttons, you can configure the following:
- Response - Required. Enter the response text for the button selection.
- Label - Enter label text that describes the response (other than the response text). This field labels the additional information selection in the Type drop down. When a response (required) is selected, additional information configuration appears.
- Type - From the drop down, select the input validation for the field. You can select free text (small or regular) or date.
- Required - Select the check box to make the answer required.
Multi Select 
Allows a user to select multiple answers for the field. If you select this option, use the Response configuration section to add answers for the question.
Text Box (Small) 
Configures a small text box for the answer field. Text Box (Large) 
Configures a large text box for the answer field. Check box
Configures a list of selections (check boxes). Users can select one or many answers. If you select this option, use the Response configuration section to add answers for the question.
Configures a table for users to input answers and data. Note:The table option is only available for supplier users. You cannot configure a table for the MQ.If you select this option, use the Response configuration section to add answers for the question.
This option allow you to optionally configure additional parameters for a table, as follows:- Table Columns - Add labels for the table columns, delimited with a comma. Each configured value adds a column to the table.
Configured responses each add a row to the table.
Configures a field for a user to enter a date.You can also click the calendar icon to open a calendar pop up that allows you to select the date. -
From the Resource Type drop down, select the
questionnaire type for the question.
The resource type is where the question appears (MQ or BVA):
- If you select 'Client', the question appears on the MQ. Select the page number (step 12). See Complete Screening Questionnaire.
- If you select 'Supplier', the question appears on the BVA. Select what to associate the question with, the request or the supplier record. Associating the question to the request makes it appear for all BVAs. Associating it the supplier record allows you to additionally filter when the question appears by the business structure of the supplier. Also, select the question group and page number (step 12). See Complete BVA Questionnaire.
-
Optionally, select the Is this a Follow-on Question
check box to make the question only appear when a specific question or
combination is selected.
If you select this option, configure the following:
- Follow on for Question - Select a configured question on the questionnaire. This makes the question display when the user answers the question.
- Follow on for Response - Select a configured answer for a configured question on the questionnaire. This makes the question display when the user selects this answer for a specific question.
This question does not appear unless the above is configured.
-
From the Page no drop down, select the page of the
questionnaire where the question appears.
This is not an option for follow-on questions.
- In the Sort Order field, enter the number of the sort order for the question.
- In the Effective Date field, enter the date where the addition of the field (or any changes to a previously configured field) take effect. You can also click the calendar icon to open a calendar pop up that allows you to select the date.
- In the Justification field, enter the justification for the addition (or change).
-
Click
 .
.