Configure a Location for a State or Province
Note:
If you
configure a new location for a client location, in order to use it for a
requisition, you must associate the location with a job category in an active
supplier contract. For more information about contracts, see Supplier Agreements.
- Navigate to the Clients page on the Configuration view.
-
Click the link in the NAME column for the client whose
information you want to modify.
The Client Info page appears.
-
In the Countries area, click the text for a country in
the Country column.
The left navigation menu displays the client location settings.
- From the left navigation menu, select
-
From the State/Province List column, select a
state/province. The state/province opens to allow you to add locations.
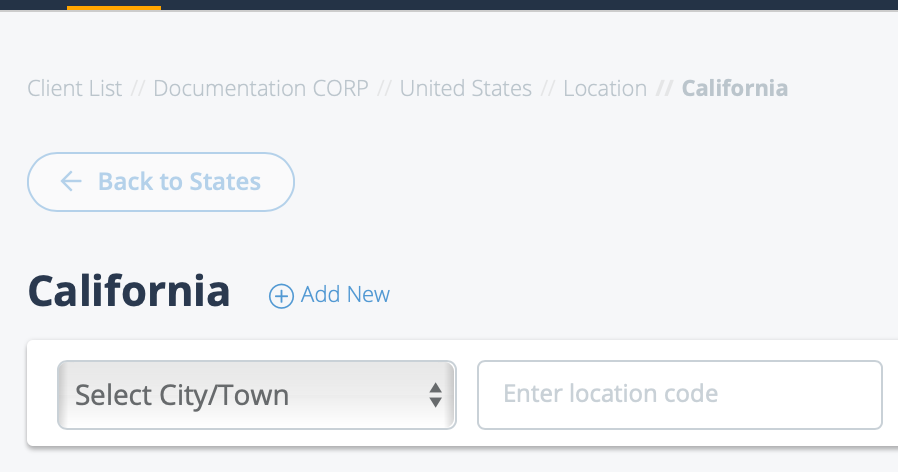
-
From the Select City/Town drop down list, select where
the location is.
Note:This list is preconfigured in the application. To add a city or town to the application list, contact your program representitive.
- Optionally, in the Enter location code field, enter specific location information for the client location.
- Select the Active check box to make the location active for the client organization's country.
-
Click
 to expand the city/town section.
-
In the expanded section, enter the following location information:
- Address Line 1 - Required information.
- Address Line 2
- Building Code
- Postal Code - Required information.
You can add multiple locations for a city/town. To add another location to a city/town, click .
. - Select the Active check box to make the location available in the city/town.
-
Click
 .
.